|
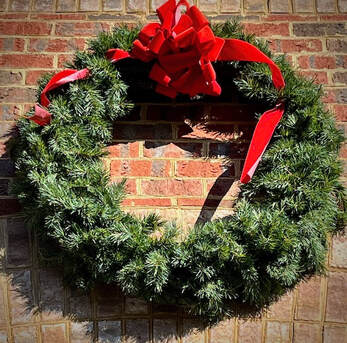
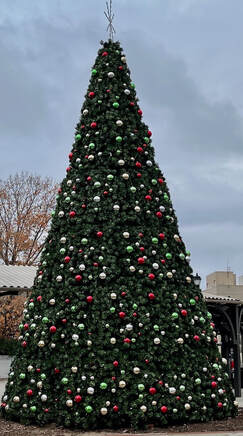
By Joanne K., Pitt County Extension Master Gardener Volunteer With the holiday season upon us, evergreens are decorating everything from churches and front doors to streetlights and car bumpers! These greens appear in many forms, including trees, wreaths, and garlands.
Vikings used evergreen decorations to ward off evil spirits associated with the winter solstice. Fir trees served as New Year's decorations for the Romans.
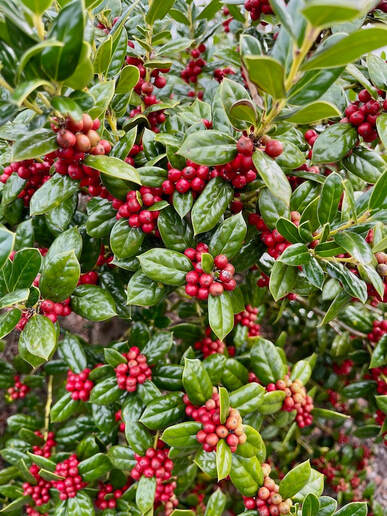
Holly (Ilex) was considered a sacred plant by Druids, for whom it symbolized fertility, and eternal life. Romans used it to decorate during Saturnalia, the feast of Saturn, the god of agriculture and harvest. For Christians, holly came to symbolize Jesus Christ, with the berries representing his blood, and the thorns the crown that was placed on his head before he died.
Ivy (Hedera helix) is another green used by the ancients to represent eternal life and the return of spring. Romans associated it with Bacchus, the good of wine and intoxication. In some cultures, it symbolized marriage. For some it represented prosperity and fortune, which early Christians saw as a sign to help those less fortunate. Ivy and holly are frequently used together to make wreaths and other Christmas decorations.
Although the history of how Christmas and evergreens came together may be open to different interpretations, it's a beautiful tradition celebrating the spirit of the season.
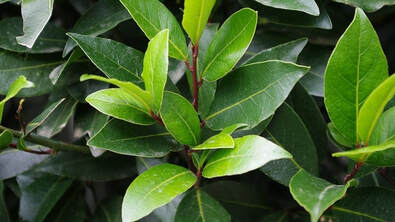
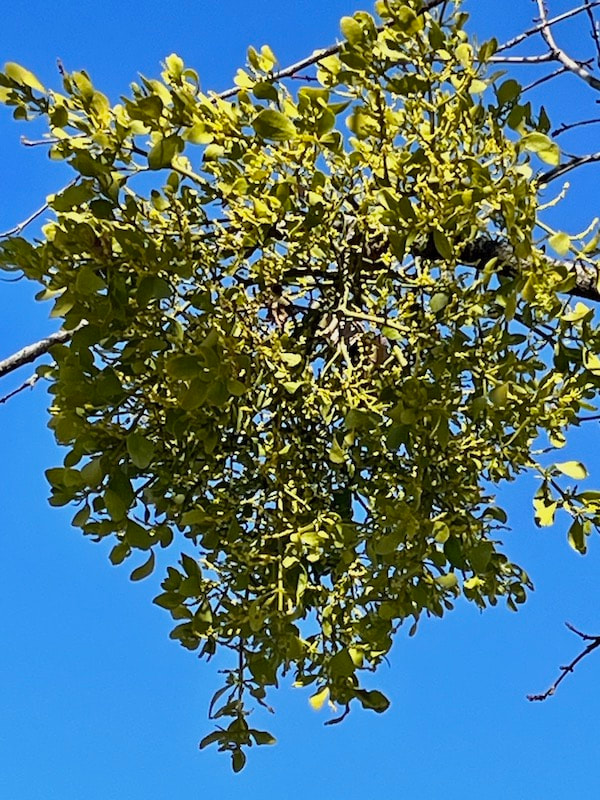
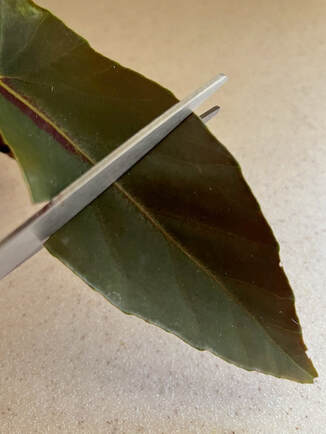
Photo Credits Christmas Tree (Pinaceae family)—Joanne K. Christmas Wreath (Pinaceae family)—Joanne K. Holly (Ilex)—Joanne K. Ivy (Hedera helix)—Joanne K. Bay Laurel (Taurus nobilis)—Leaves, Twinning Valley Nurseries CC BY-NC-ND 2.0 Mistletoe (Phoradendron serotinum)—Joanne K.
0 Comments
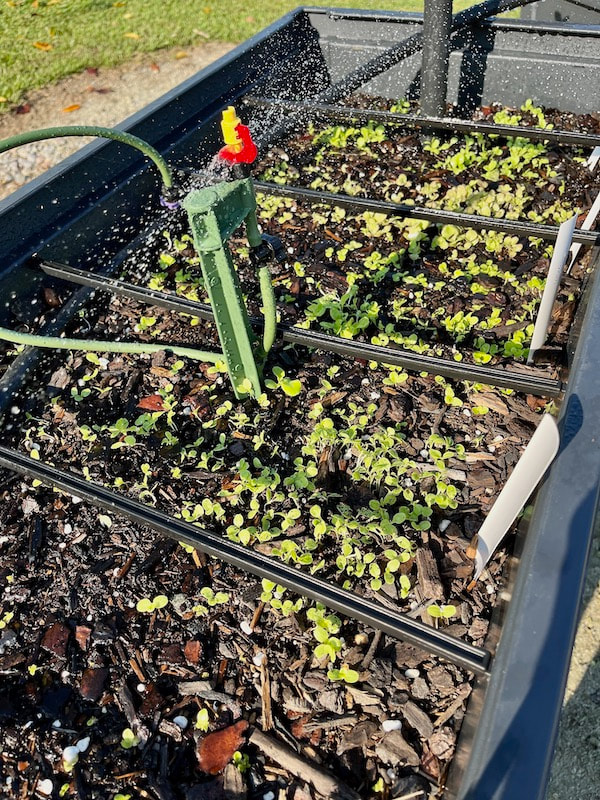
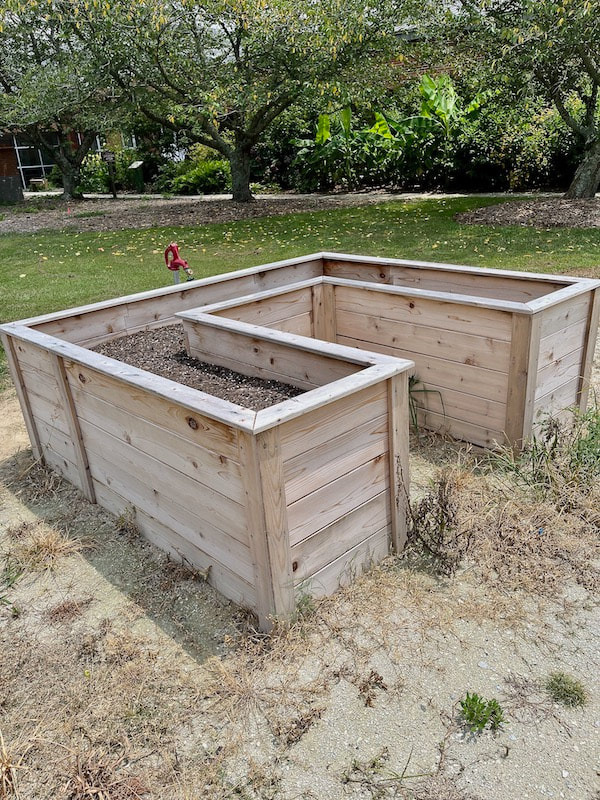
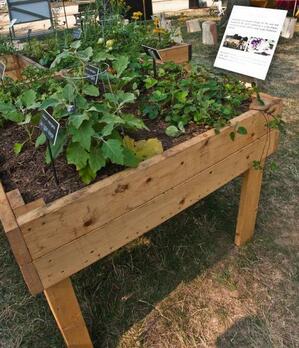
By Joanne K., with contributions from Diane S., Dell E., Tommy M., and Alta A., Pitt County Extension Master Gardener Volunteers Gardens are always changing, and the Arboretum gardens are no exception. Plants die, outgrow their space, fail to thrive, or a garden just needs to be rejuvenated. A case in point is our new vegetable garden, the latest work in progress! When the irrigation system no longer functioned in the old vegetable garden adjacent to the Children's Garden, the vegetable garden team, in consultation with the Horticultural Extension Agent, decided to create a new one in an area west of the county auditorium.
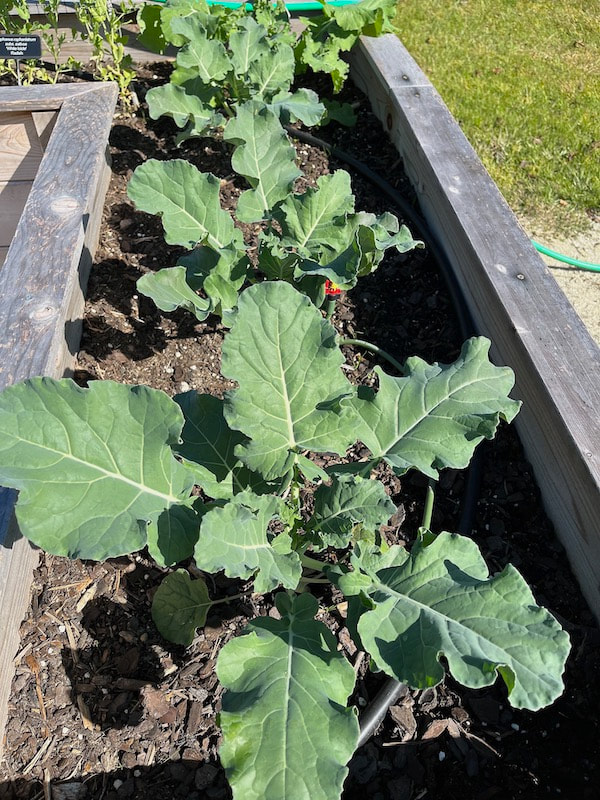
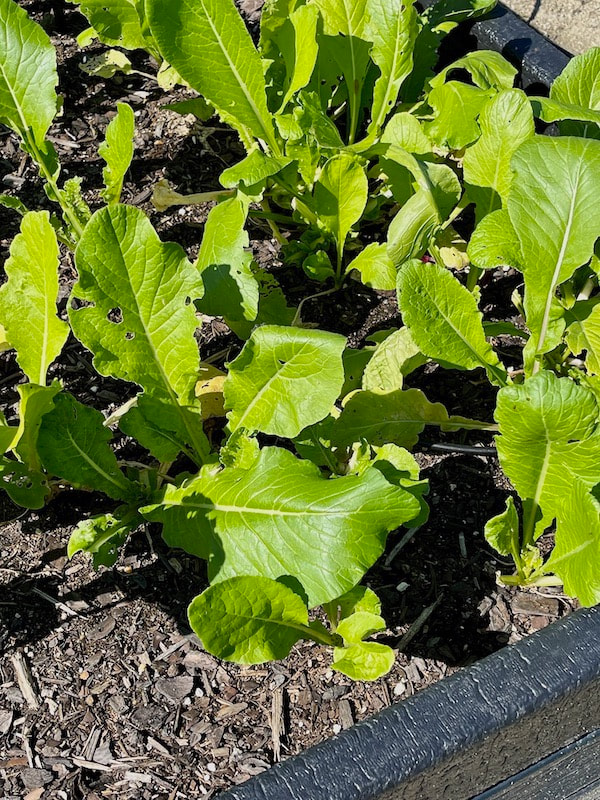
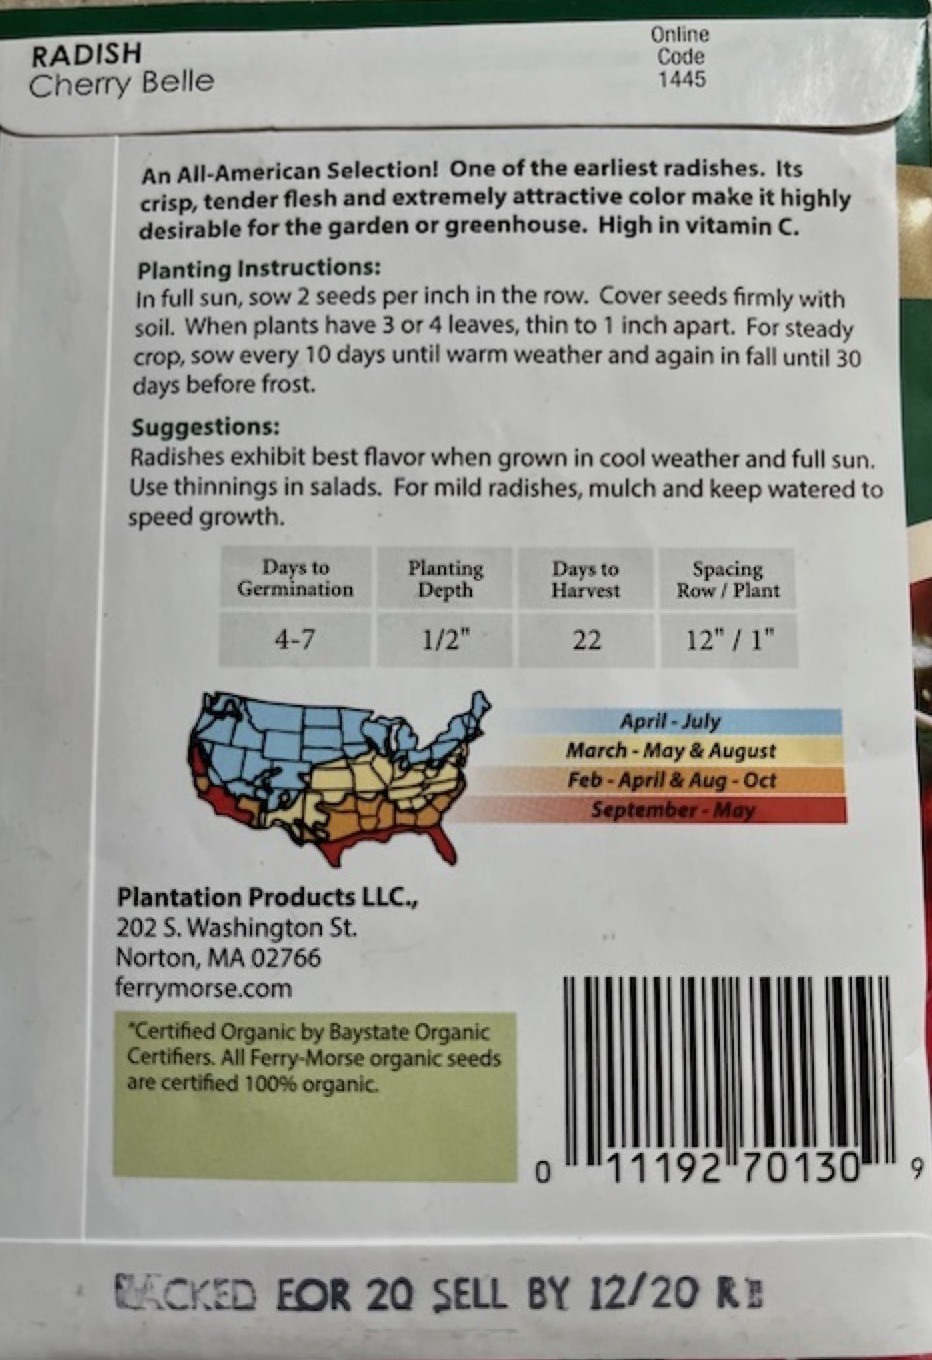
The beds were filled with a mix of composted cow manure, aged pine bark fines, perlite, dolomitic lime, and sand, which was bought in bulk. This formulation provides excellent drainage for vegetable or flower gardening. Fall lettuces are currently growing in the new beds, along with radishes, kale, beets, carrots, broccoli, and peas. All of the harvest will be donated.
Depending on the size of the beds, anything can be grown in them. In fact, there are even compact varieties of tomato and cucumber plants that do well in the smallest of spaces.
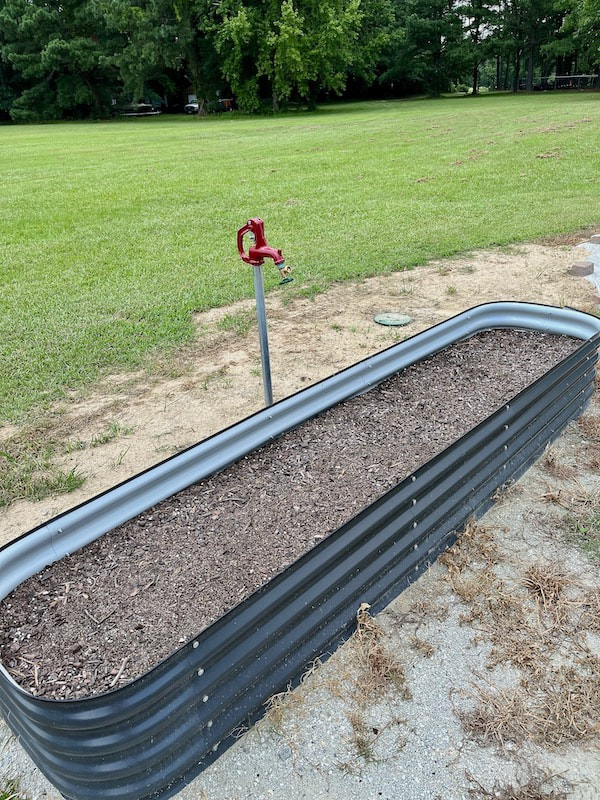
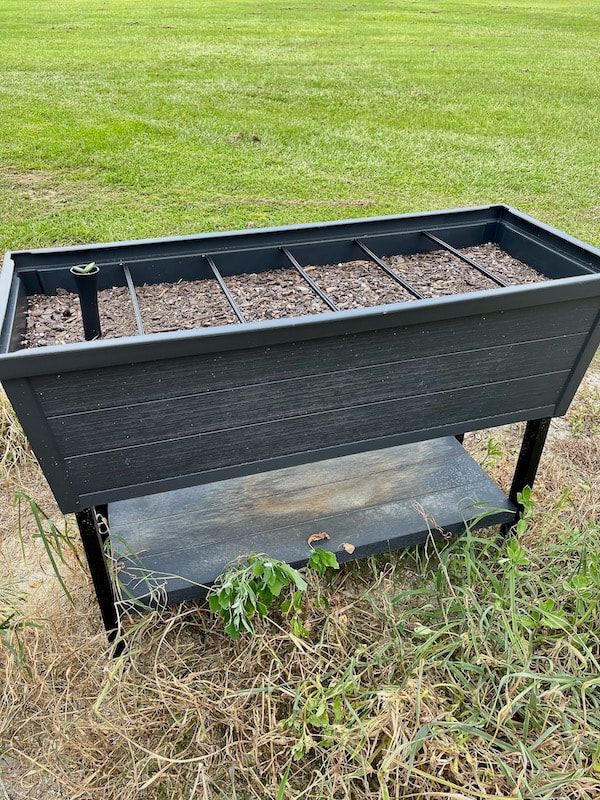
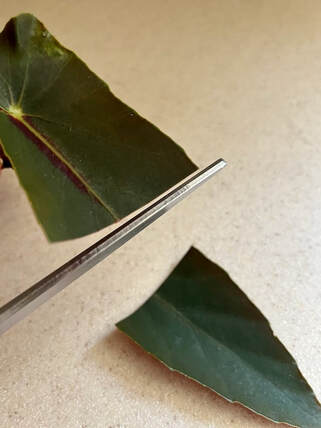
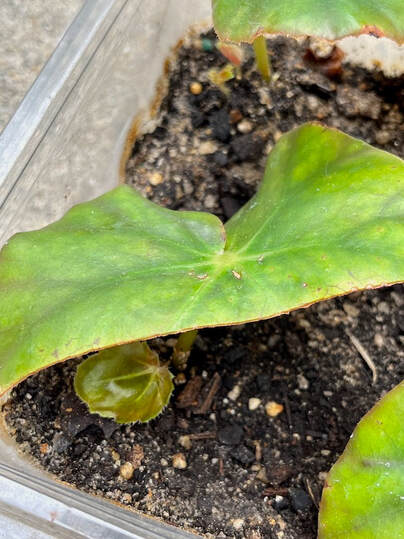
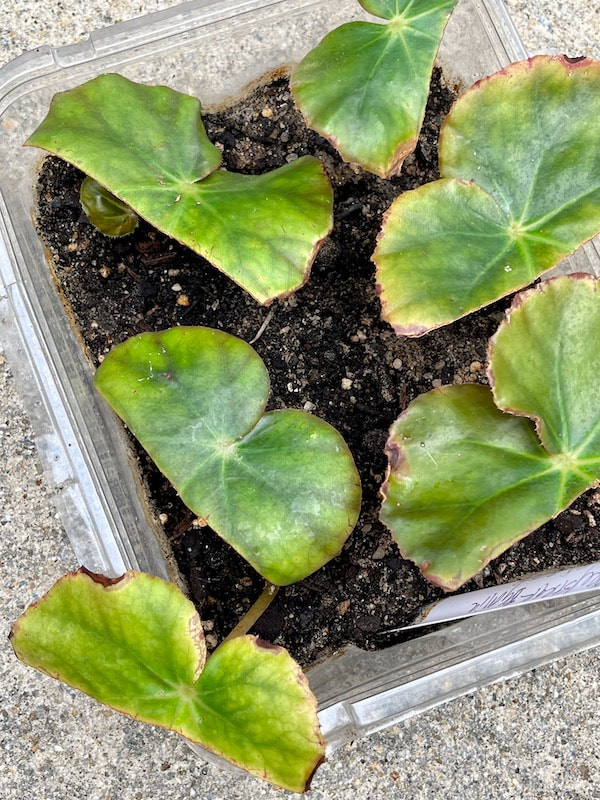
Future plans include an in-ground plot as well as an arbor and a space to showcase more portable planting ideas, such as grow bags. To show that vegetable gardens can be attractive, a border will be added around the garden with a seating area in the center. The team hopes to do educational workshops when construction is complete. The team purchased their beds locally and online. Two elevated planters are plastic, and the low elliptical planter is metal. The square bed and the double-height u-shaped bed are made of cedar, the recommended wood for these products. Small-space gardening has become very popular, and it is getting easier to find kits and pre-made beds, which are available from many big box stores and online retailers. All but the recycled plastic bed in the garden required assembly. The team had a little help with the u-shaped planter. But other than that, it has been all-girl power! Pitt County Soil and Water Conservation staff provided site preparation. They used their machinery to dig up the turf, level the ground, and install crush-and-run to make a nice walking/wheeling surface. For the home gardener, some sources recommend removing the turf from under the beds, but team members know people who have placed their beds right on top of existing grass with no problems. For information on creating your own raised beds, go to the North Carolina Community Gardens Handbook at https://content.ces.ncsu.edu/collard-greens-and-common-ground-a-north-carolina-community-food-gardening-handbook/soil-plots-and-planters. By Joanne K., Pitt County EMGV Coleus displays in many home and public container gardens around the area have been spectacular this year. Perhaps you have a favorite coleus or another summer annual that you don't want to lose when the frost comes. 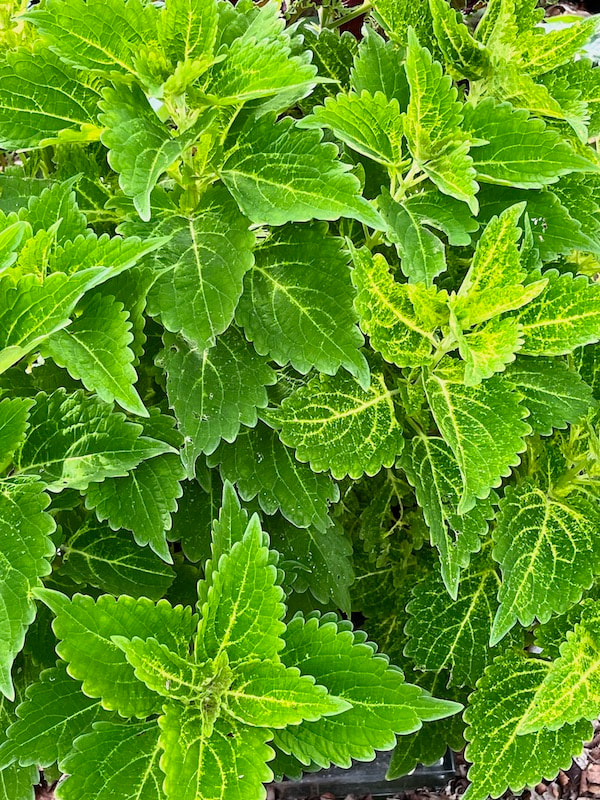 Coleus Green (Coleus scutellarioides) in late summer. Photo by Joanne K. As summer winds down, many annuals have luxuriant growth from which cuttings can be taken to propagate over the winter to enjoy in your garden next spring. Propagating cuttings is a fun way to extend your gardening season. Following are two easy propagation methods using stem cuttings.
Place the planter in a properly lit place for the type of plant you have. Use a 10-10-10 fertilizer when needed according to package directions.
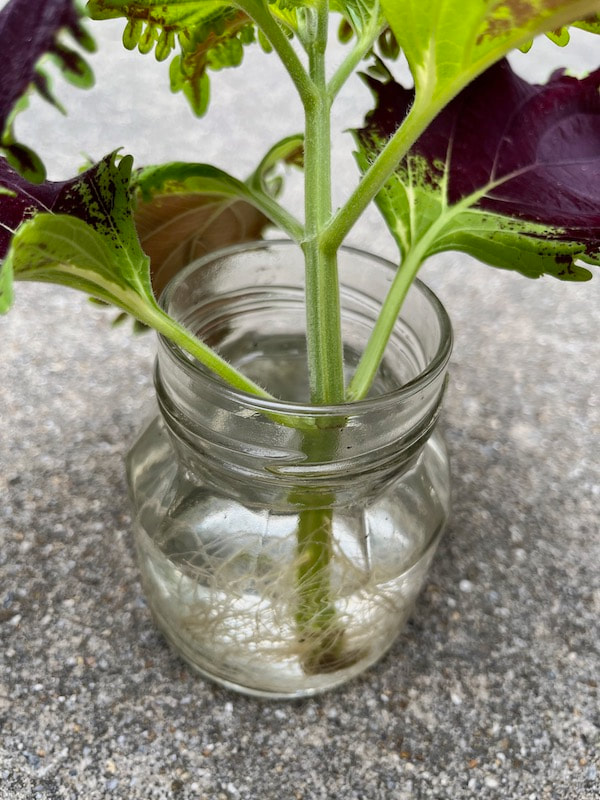 Coleus (Coleus scutellarioides) stem cutting rooted in water. Photo by Joanne K. For an excellent series of plant propagation photos and instructions go to the following Missouri Botanical Garden site:
https://www.missouribotanicalgarden.org/gardens-gardening/your-garden/help-for-the-home-gardener/advice-tips-resources/visual-guides/propagating-plants-by-cuttings#:~:text=Some plants will root in,rot if kept too wet. By Joanne K., Pitt County EMGV Eastern NC is definitely in the dog days of summer now, with the heat index soaring above 100 and rain coming sporadically. Containers plants are particularly vulnerable to this twin whammy of hot, dry conditions, as the containers tend to dry out quickly. Pitt County Master Gardeners were asked to share photos of some of their favorite container gardens that have held up well this summer despite unfavorable growing weather. Below are their containers, along with the plants that have beat the heat!
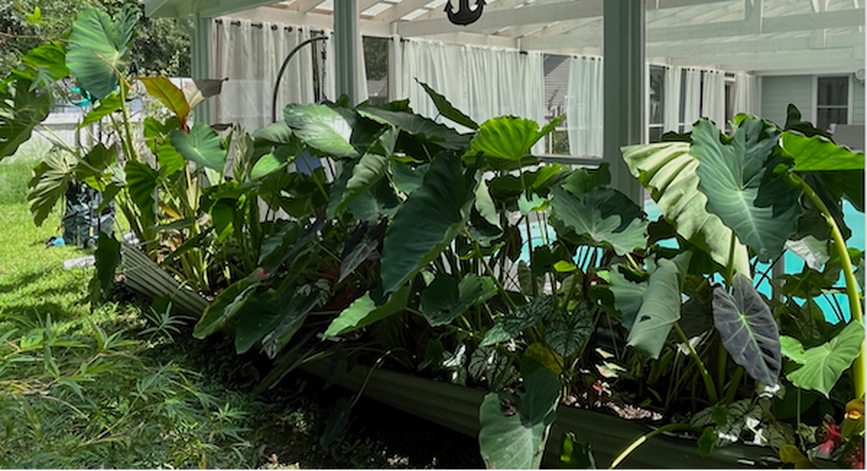 Photo 5: Bob C., Pitt County EMGV Colocasia Elephant Ears; Caladiums Caladiums; Canna Cannas
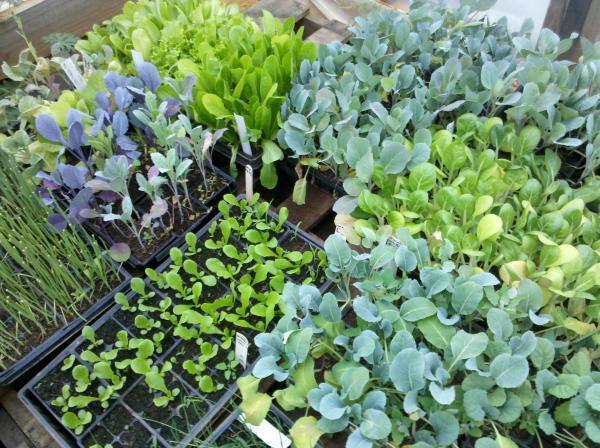
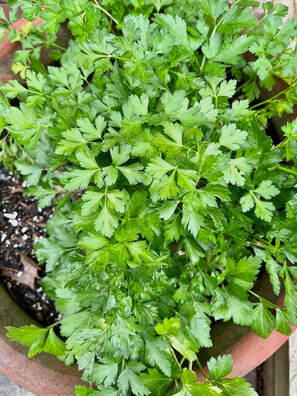
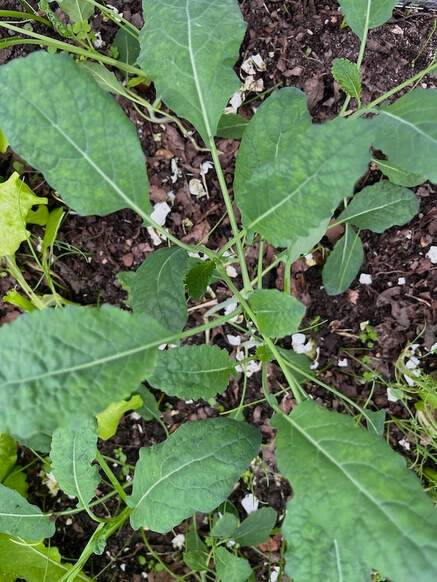
By Joanne K., Pitt County EMGV Although it's the middle of summer, now is the time to start planning and planting your fall vegetable garden. The eastern NC climate allows for three-season gardening, and the cooler fall temperatures are ideal for such crops as lettuces, onions, broccoli, collards, and cabbage. Fall planting can be done between mid-August to mid-September. Start by getting a soil test, which is free between April 1 and the end of November. Soil test boxes and forms are available at the Pitt County Agricultural Center lobby and the NC Cooperative Extension office at 403 Government Circle, Greenville, NC 27834. Soil samples are sent to the NC Department of Agriculture and Consumer Services lab in Raleigh, and the turnaround time is about two weeks. As the summer crops start to decline, pull out the spent vegetation and weeds to make room for fall crops. Don't turn them under in the garden, however, as the summer build-up of insects and diseases can still linger in the soil in the warm fall temperatures, threatening your new plantings.
NC Cooperative Extension offers an "Eastern North Carolina Planting Calendar for Annual Vegetables, Fruits, and Herbs", which includes information on planting dates, days to harvest, and whether to plant seeds or transplants. You can request a copy from Pitt County Extension Master Gardeners at 252-902-1705 or access the guide online. For more information on vegetable gardening, go to the Extension Gardener handbook.
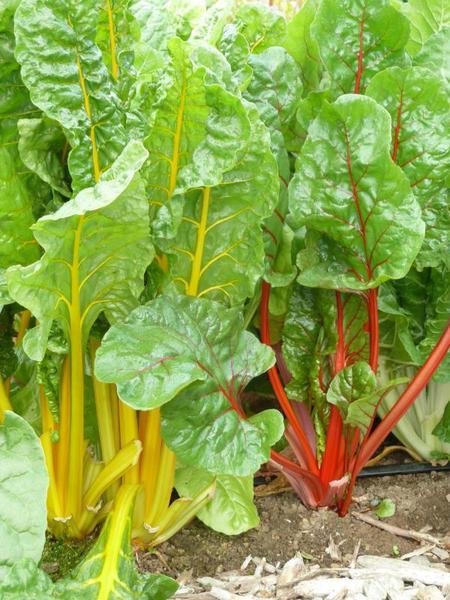
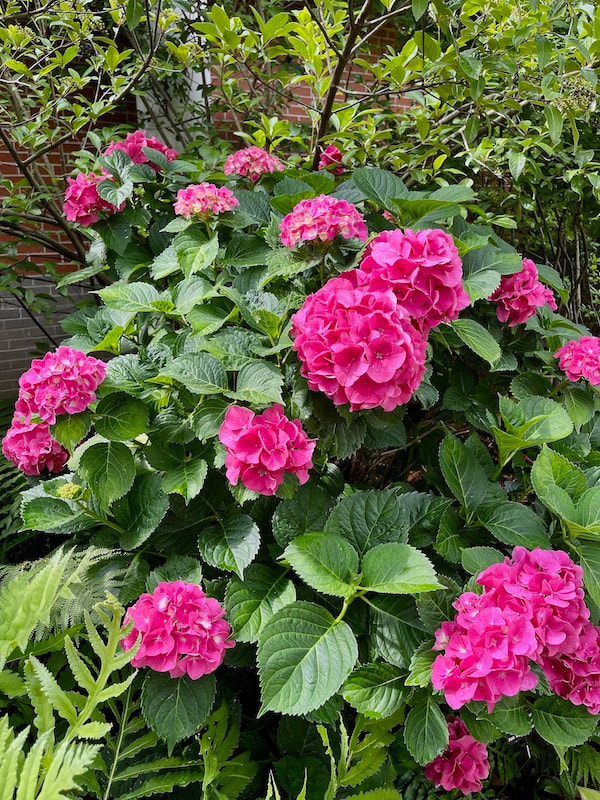
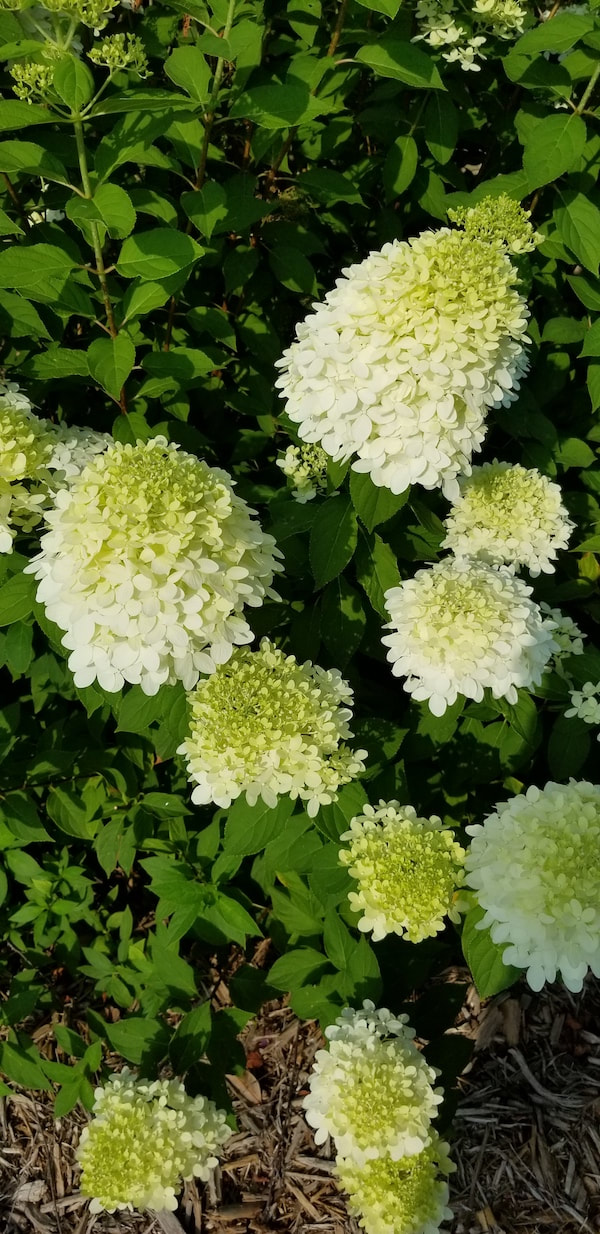
Plant now and enjoy your own fresh vegetables through the fall and early winter! Photos: Transplants - Lucy B., CC BY 2.0 Curly leaf kale - Lucy B., CC BY 2.0 Swiss chard - Kathleen M., CC BY 2.0 By Joanne K., Pitt County EMGV Gorgeous hydrangea blooms in hues of pink, purple, blue, white, and green are the current stars of eastern NC gardens. These shrubs have really rebounded this year with robust blooms after the disappointing hydrangea displays in 2022 due to an exceptionally dry year. But now as the blooms start to fade, gardeners are faced with the question of when to prune their plants. Pruning is needed to remove old blooms, control size and shape, remove diseased/damaged stems and leaves, or rejuvenate an overgrown plant. The rule of thumb for hydrangeas is if they bloom on old wood, cut back immediately after blooming, removing only about 1/3 of the plant. If they bloom on new wood, prune after flowering or in winter. The challenge is to determine what kind of hydrangea you have.
Hydrangea blooms are perfect for dry, indoor winter arrangements. An easy way to dry the blooms is to place the mature flowers with all of the leaves stripped from the stem in a container with a couple of inches of water. Keep the container out of direct sunlight.
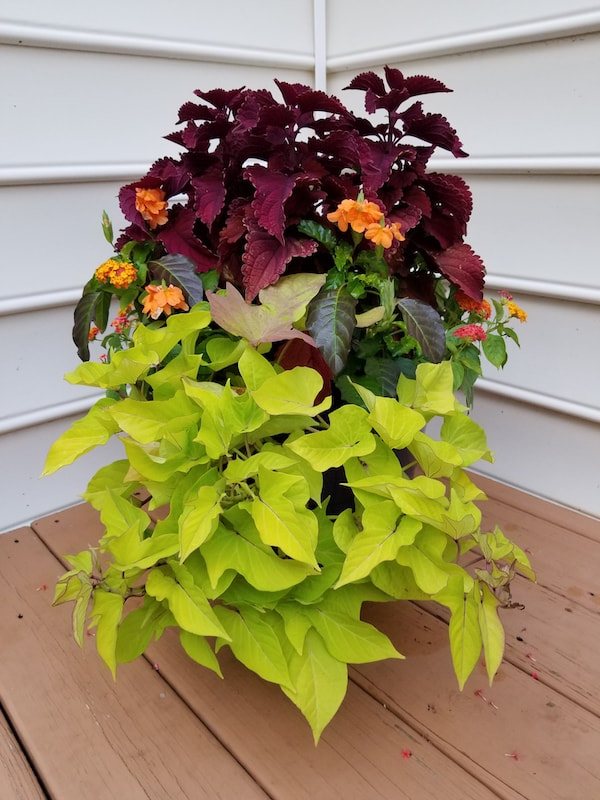
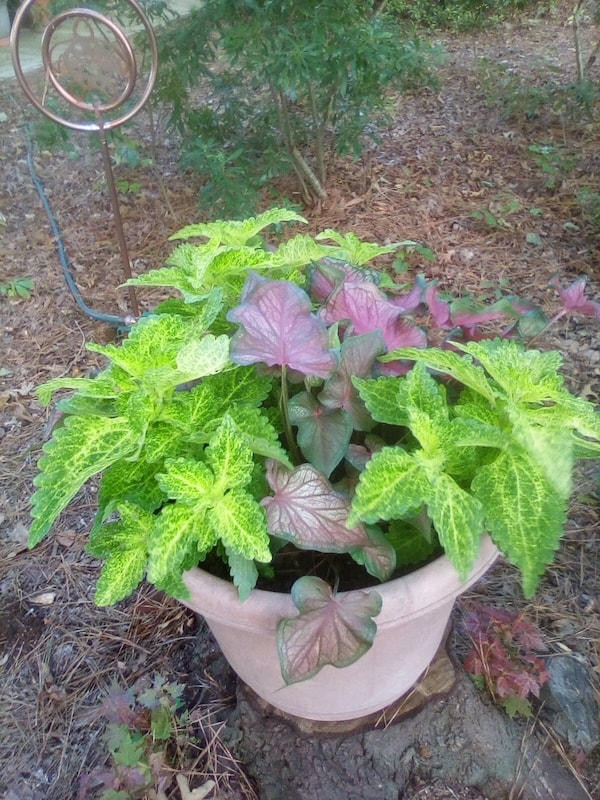
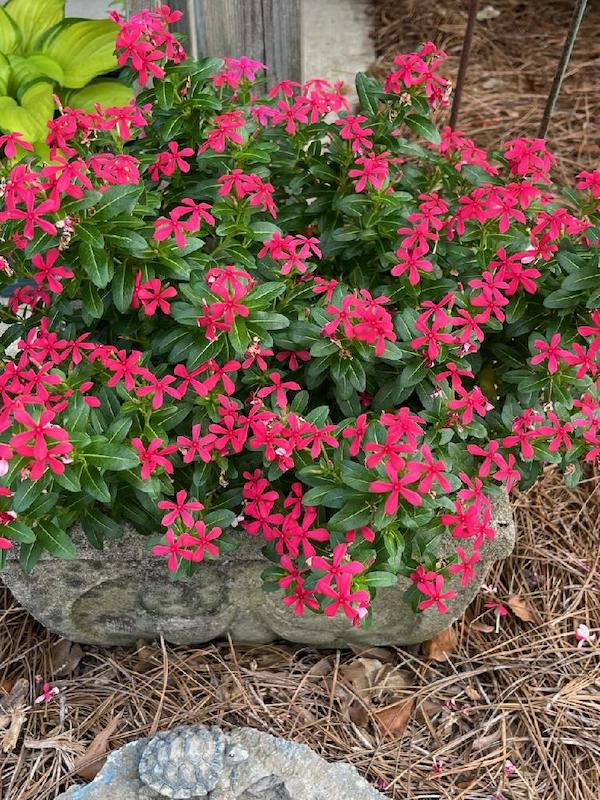
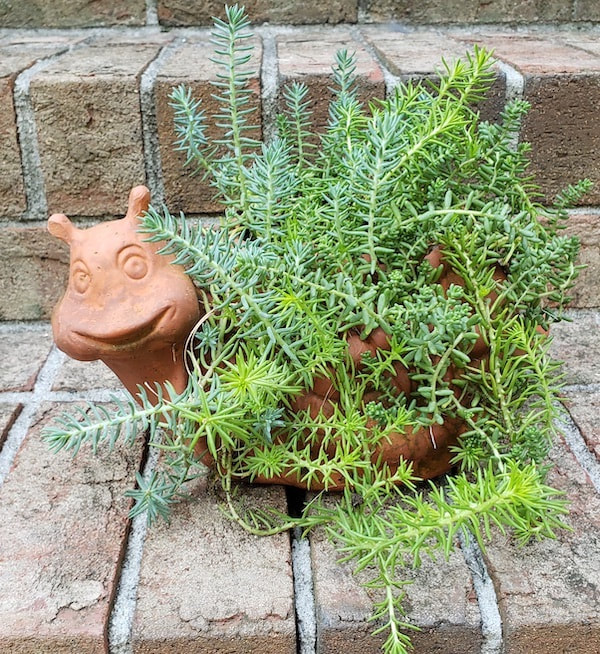
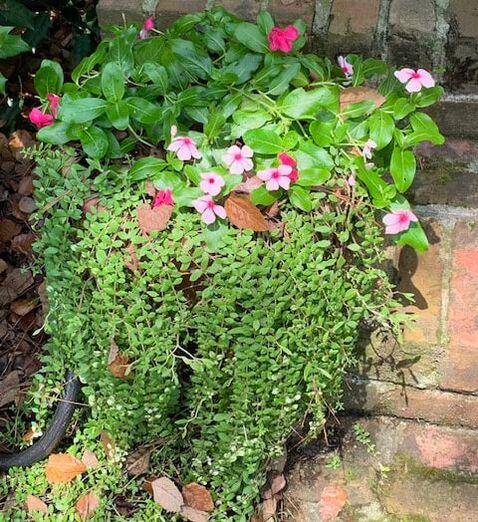
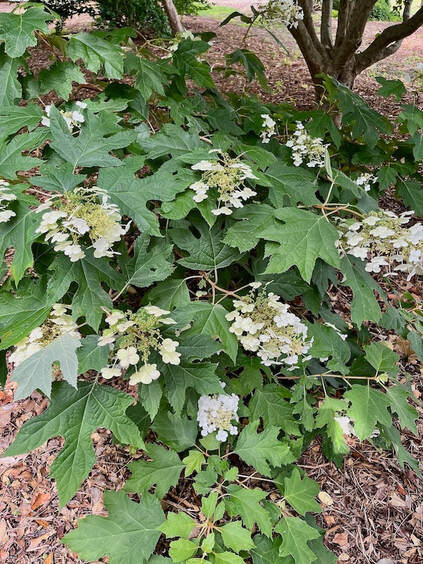
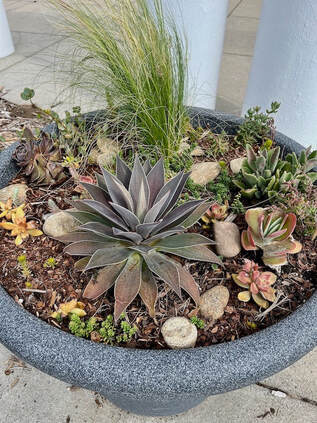
In a couple of weeks, the process will be complete. The blooms won't absorb the water, and the dried color will be more vibrant than ones allowed to dry on the stem. Google "how to dry hydrangeas" for more information. With careful plant selection, your garden can feature a beautiful continuous hydrangea display from late spring into the fall and winter! Photos 'Merritt's Supreme Hydrangea,' H. macrophylla, Pink Bigleaf Hydrangea, in the Wet Site Garden at the Pitt County Arboretum. Photo by Joanne K. Oakleaf Hydrangea, H. quercifolia, in row 2 of the Walking Trail at the Pitt County Arboretum. Photo by Joanne K. 'Limelight Hydrangea', H. paniculata, in the Perennial Garden at the Pitt County Arboretum. Photo by Cindy C. Story by Joanne K., Pitt County Arboretum Extension Master Gardener Volunteer What to do when you want to add more color and excitement to your garden, but there's just no space to squeeze in one more plant? That's when the savvy gardener turns to container gardening to create new gardens every season and every year without the heavy lifting required to start a new planting bed. At the Pitt County Arboretum, the Master Garden container team changes out the pots each season showcasing the variety of plants suitable for planters. Annuals, perennials, shrubs, trees, grasses, succulents, herbs, and vegetables are all fair game for container planting. The accompanying pictures show three of the Arboretum containers planted for summer for part sun, full sun, and shade. Master Gardener Teresa S. shares the following tips for successful container gardening.
When shopping at your favorite nursery, start planning your next container garden creation with these tips in mind!
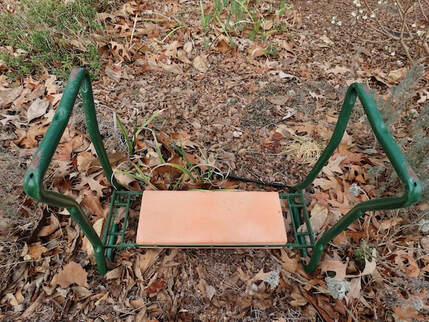
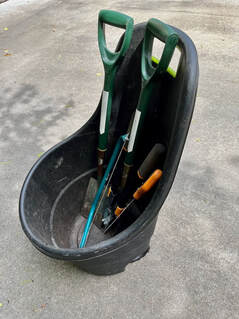
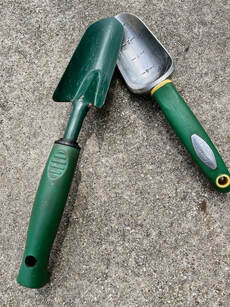
Photos: Joanne K. Story by Joanne K., Pitt County Arboretum Extension Master Gardener Volunteer Oh, my aching back! My creaky knees! This tool hurts my hand! The litany of gardening aches is universal, and with the arrival of spring and planting season, the pain chorus sings loudly.
The following suggestions are from the University of California, Davis. Certainly envisioning a simpler garden is one step to take. Instead of planting annual beds, replace them with perennials and shrubs that, once established, will require minimal care. Select shrubs that require little or no pruning. Plant tough perennials that can withstand our summer heat and occasional droughts without missing a beat.
Don't be afraid to ask for help from younger family members, or perhaps look into getting some paid help for the heavier tasks.
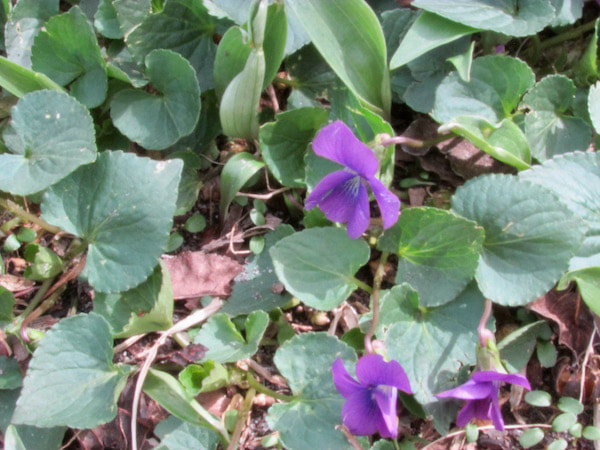
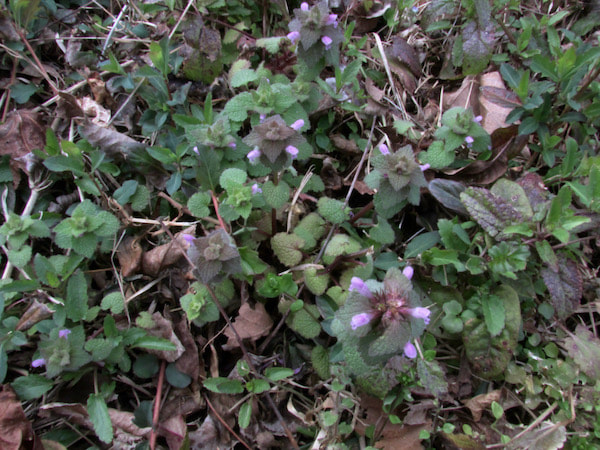
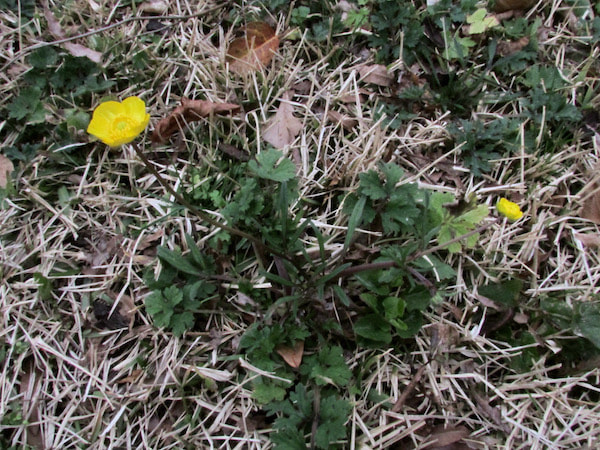
More suggestions for adapting your garden can be found at UC Davis at https://ucanr.edu/sites/cetrinityucdavisedu/files/280231.pdf and at https://cetrinity.ucanr.edu/files/280232.pdf. Once you start implementing these suggestions into your gardening routine, you'll never look back. And your body will thank you! Story and photos by Joanne K., Pitt County Arboretum Extension Master Gardener Volunteer Although our grass does not actively grow in winter and early spring, the weeds certainly do! They seem to pop up everywhere in the lawn, causing headaches for grass lovers. Weeds are defined as plants growing where you don't want them. Most of the same weed species will return in the same areas every year. Weeds compete with the grass for light, water, nutrients, and space.
These include calculating the square footage, measuring the herbicide amount accordingly, and correctly calibrating the spreader.
An excellent resource is the turf grass file at NC State University: https://www.turffiles.ncsu.edu/weeds-in-turf/ The NC State University website describes the various weeds that occur at different times of the year and includes pictures for identification. It describes cultural and chemical controls listing the pre- and post-emergent herbicides that can be used, along with explanations on their usage. Lawn maintenance calendars can be requested from the Pitt County Extension Master Gardener Volunteers by calling the Info Line at 252-902-1709. By Joanne K., Pitt County EMGV
But if you can't resist the allure of an early harvest and decide you must transplant your tomatoes now, be prepared to cover them if a frost warning is issued. It’s best to buy and plant your tomato and pepper transplants after March 30, Eastern NC's last average frost date. If you want to grow your own pepper and tomato transplants, start the seeds 6 to 8 weeks before their recommended transplant date, which is April 15 for both plants. While all of these vegetables and herbs can be planted directly in the ground, you may prefer to grow them in a container garden if you have limited space or prefer the ease of maintaining a container garden. When planting in pots, be sure to use potting soil rather than garden soil, which will compact and drain poorly. Potting soil also reduces the chances of weeds and soil-borne diseases. Most potting soils incorporate fertilizers, which will get your plants or seeds off to a great start.
Photos: J. Kollar
|