|
Story and photos by Joanne K., Pitt County Extension Master Gardener Volunteer It's summertime and your herbs are thriving. This is the perfect time to make your own herbal vinegars, which can be used year-round to add extra flavor to your salads, marinades, and sauteed vegetables. Plus, these vinegars make great gifts for family, friends, and neighbors. Herbal vinegars are fun and easy to make at home. You'll need containers such as pint or quart canning jars or bottles, plus lids and caps (plastic caps, new corks, canning jar lids). Also needed are unscented bleach, large saucepan, thermometer, tongs, cutting board, and a knife.
For the best flavor, pick the herbs early in the morning from plants that have not flowered. For each 2 cups of vinegar, use 3 to 4 sprigs of your herb. Wash and dry the herbs on a clean towel. When dry, quickly dip the herbs in a bleach solution (1/2 tsp unscented bleach per 3 cups water) to prevent harmful bacteria from entering the vinegar. Rinse thoroughly under cold water and pat dry.
Prepare the jars by washing them in hot, soapy water and sterilizing them in a large saucepan with simmering water, keeping the jars fully under water for 10 minutes. Use tongs to remove them from water and invert on a rack. Also, wash your caps in hot, soapy water and then rinse and scald in boiling water. Use new pre-sterilized corks, dipping them in and out of boiling water several times before sealing the vinegar. Heat vinegar to just below the boiling point of 190-195 F. Check with your thermometer. In the meantime, chop or bruise your herbs on a cutting board to release their oil and intensify the flavor.
Properly bottled herbal vinegars will keep for about 3 months in cool storage and about 6 to 8 months in the refrigerator.
For more information on herbal vinegar combinations and using fruits, vegetables, and spices to flavor vinegar, go to https://hgic.clemson.edu/factsheet/flavored-vinegars/
0 Comments
By Joanne K., Pitt County Extension Master Gardener Volunteer The Atlantic hurricane season began June 1, and lasts until the end of November. Recently, the National Oceanic and Atmospheric Administration announced an 85 percent chance that storm activity in the Atlantic in 2024 will be above average due to record-high ocean heat and an oncoming La Nina, periodic cooling of ocean surface temperatures that affects rainfall patterns and can contribute to more intense weather. Other agencies, including universities, governments, and private weather companies, have made similar predictions. Eastern North Carolina is no stranger to hurricanes and high-wind events that bring down trees and power lines. Climate-change predictions of a continuing rise in sea surface temperatures over the coming decades could lead to ever stronger hurricanes with higher wind speeds and thus a greater likelihood that trees will be knocked down during these storms, possibly damaging adjacent structures.
The article recommends keeping your trees healthy through regular maintenance to increase their ability to survive a storm. This includes proper pruning techniques when needed, and removing overly mature trees.
 Shumard oak (Quercus shumardii), Jim Robbins, CC BY-NC-ND 4.0 Additional information about these studies and their recommendations are available at https://hort.ifas.ufl.edu/treesandhurricanes/. Other tree suggestions can be found on the North Carolina Forest Service website at https://www.ncforestservice.gov/Urban/urban_recommendedstreettrees.htm. Wind resistance doesn't guarantee that your trees won't be blown over during a hurricane. However, the proper selection, siting, planting, and maintenance of wind-resistant trees gives them a much better chance of surviving storms and minimizing damage to both trees and surrounding structures.
by Susann C., Extension Master Gardener Volunteer, Pitt County Arboretum Vertical pallet gardens are a wonderful way to garden if you have limited space. Pallets are readily available. With a few tools, soil, plants, and water, you can have a finished vertical garden in the space of an afternoon! You can hang a pallet on a fence, lean it against a fence or a wall or a balcony railing, or lay it down on the ground to form a raised bed garden. You can have an herb garden, flower garden, vegetable garden, or a combination – the possibilities are endless.
By Joanne K., Pitt County Extension Master Gardener Volunteer While strolling through your garden, you may have noticed patches of moss in your landscape beds or lawn and wondered why they are there. Moss grows in shady areas of low fertility, compacted soils, high soil acidity, poor drainage, excessive thatch in lawns, or a combination of these factors. It can be found not only in the landscape. but on a variety of surfaces, including roofs, rocks, and walls.
Moss reproduces by spores in a variety of environments that are very wet at some times of the year. While moss is not aggressive, it is considered opportunistic in that it grows in conditions favoring its growth.
While moss doesn't harm your lawn or garden, you may not like how it looks. Be aware that physical or chemical removal is a temporary solution unless the underlying conditions favoring moss growth are corrected. In vegetable and flowerbeds, there is no chemical control that will not harm the other plants. In these beds, use a hoe to scrape the moss off the soil surface and dispose of the moss in trash bags. To prevent its return, correct the soil conditions that favored its growth. Order a soil test so that you can determine how to improve your soil. A soil test will indicate lime and fertilization needs. Aerate (core) compacted soil and work in compost to improve the soil structure. You may also need to prune or remove some plants to let more sunlight in. Adjust your downspouts so they don't empty into the garden and water early in the morning because you want to give that area the opportunity to dry. Rake your lawn to remove the moss. There are chemicals that can kill the moss but not the grass. However, a more environmentally friendly approach is to correct the problem by using cultural means.
For more information, go to NC State Extension, Moss Control in Turf, at https://content.ces.ncsu.edu/moss-control-in-turf.
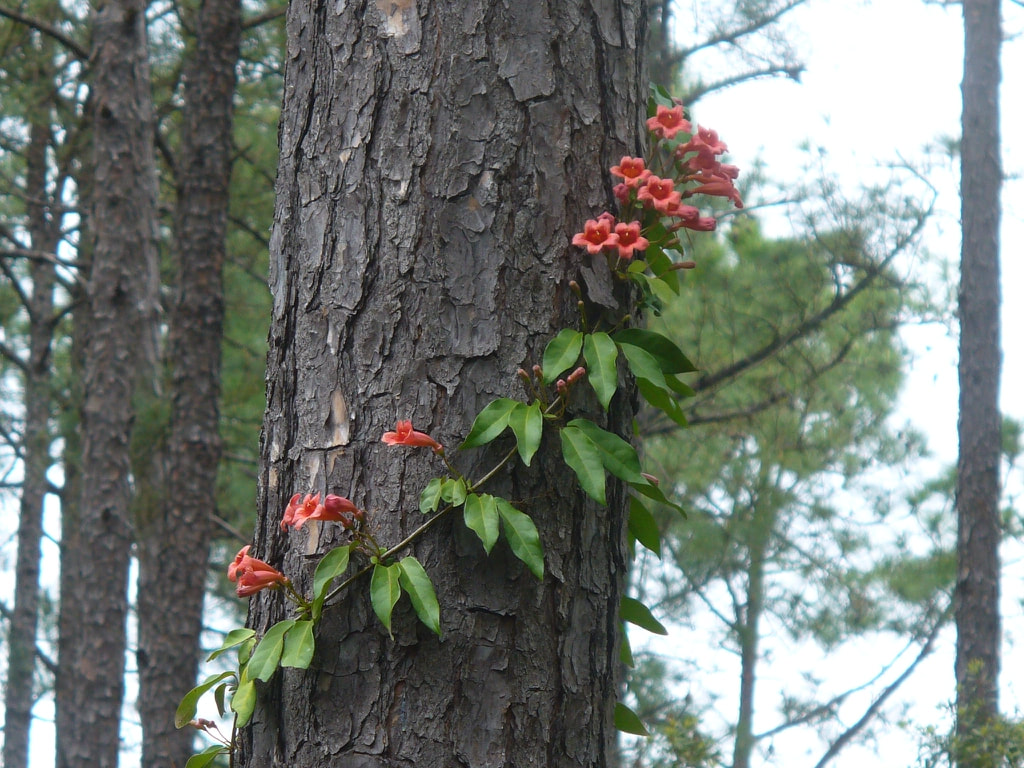
By Matt S., Pitt County Extension Director and Horticulture Agent On Friday April 12, 36 interested gardeners gathered for our second 2024 Northside Plant Walk: Aromatic Additions for your Landscape. The tour began under our green roof shelter as usual, where we discussed the first of four vines on the walk, Bignonia capreolata, Crossvine, so named because the vascular tissue inside the stems forms the shape of a cross. It’s multicolored flowers, yellow-orange in throat and pink in the outer corolla, are mildly fragrant and smell of mocha. This is a native evergreen vine with twining tendrils it uses to attach to structures as it propels itself upward. Flowers are similar to trumpet vine, which it is often confused with, though the deciduous foliage of trumpet vine is quite different than that of crossvine.
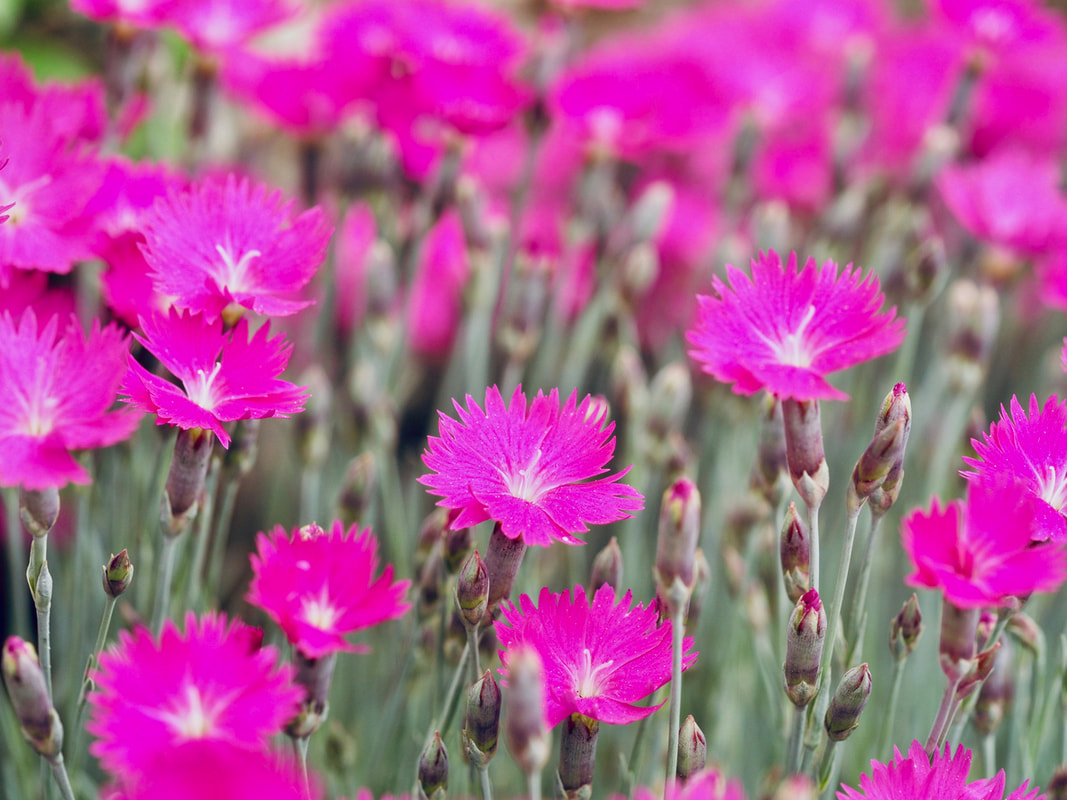
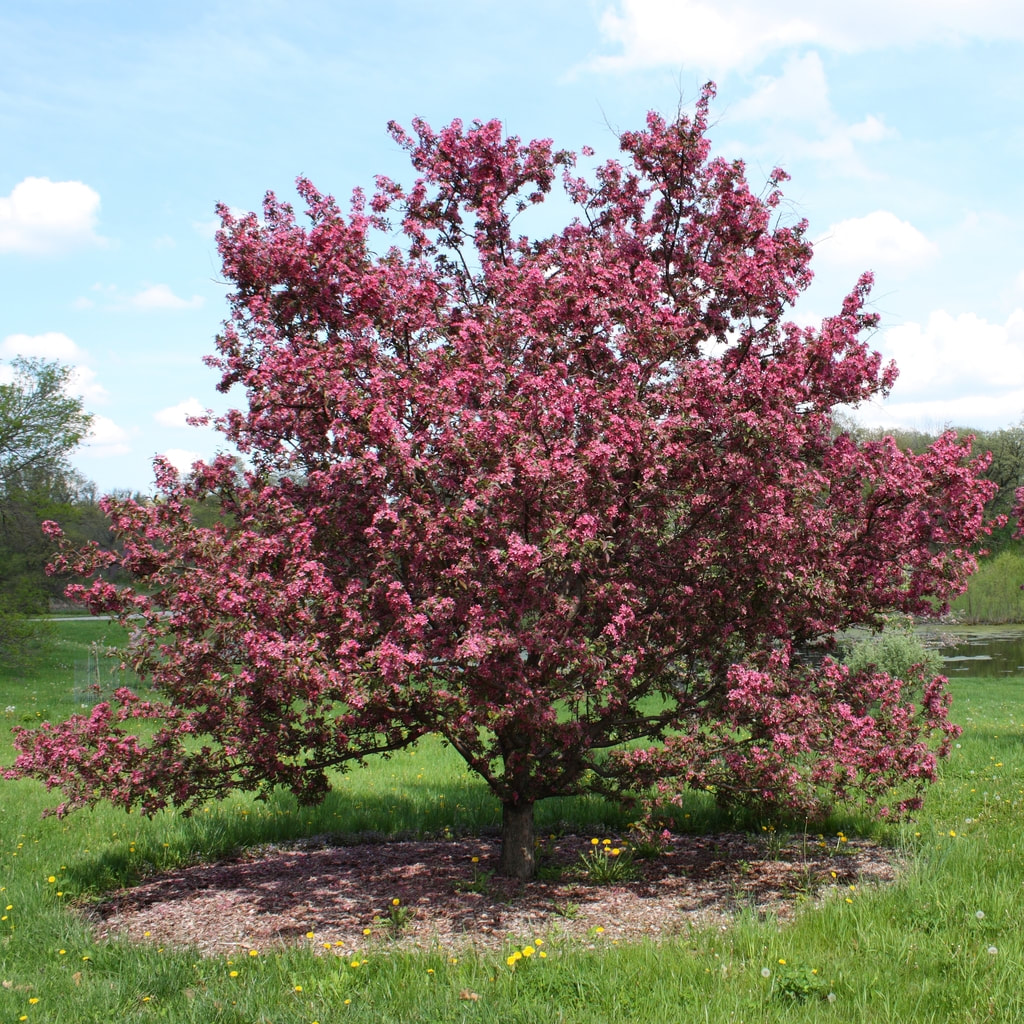
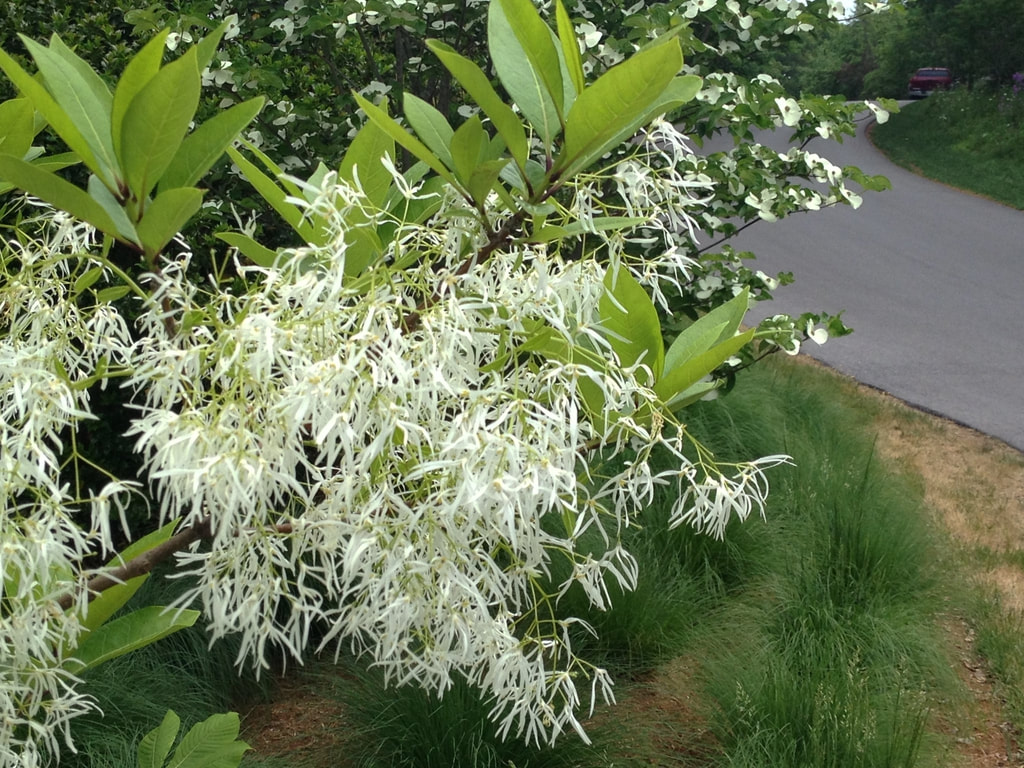
Crossvine flowers also bear some similarity in shape and color to the second vine discussed, trumpet honeysuckle, Lonicera sempervirens, though honeysuckle’s flowers are much smaller. While L. sempervirens is not as fragrant as other Lonicera species, it is another native and less invasive than Lonicera japonica. Like Crossvine, flowers are popular with hummingbirds and butterflies. Dianthus ‘Firewitch’, the 2006 Perennial Plant of the Year, is a low growing, spreading perennial with bright pink flowers in spring and greenish gray evergreen foliage throughout the year. Its scent is similar to carnations, its close relative, though the stalks on this cultivar are much too short for cut flower use. Plant in mass or use in borders, edging, along paths, or in rock gardens. Just avoid especially wet soils. Crabapples are members of the Malus genus, relatives of apples, but producers of smaller, far less delicious fruit. That fruit can be attractive, though messy if planted in the wrong location. Gardeners plant crabapples in their landscapes because of the flowers, however, which create a vibrant show in mid-spring. Though there is some variability depending on the cultivar, crabapples often have rosy pink buds that open to reveal pale pink or white flowers with a light apple scent. Chionanthus virginicus, aka Fringetree, is a small deciduous tree with long-petaled flowers in spring that smell like vanilla. The blue-black fruit that arrive later in summer support birds and other wildlife. Fringetree is native and suitable for a variety of soil types, and tolerates shade though it will flower best in full sun. Philadelphus coronarius, aka Mockorange is a tall shrub with arching branches. Flowers resemble citrus flowers in size, color, and shape (hence the common name Mockorange), but smell like sweet perfume. It can be difficult to fit the standard Mockorange into modern landscapes due to its size, but more compact cultivars such as ‘Snowbelle’ are easier to fit into smaller spaces.
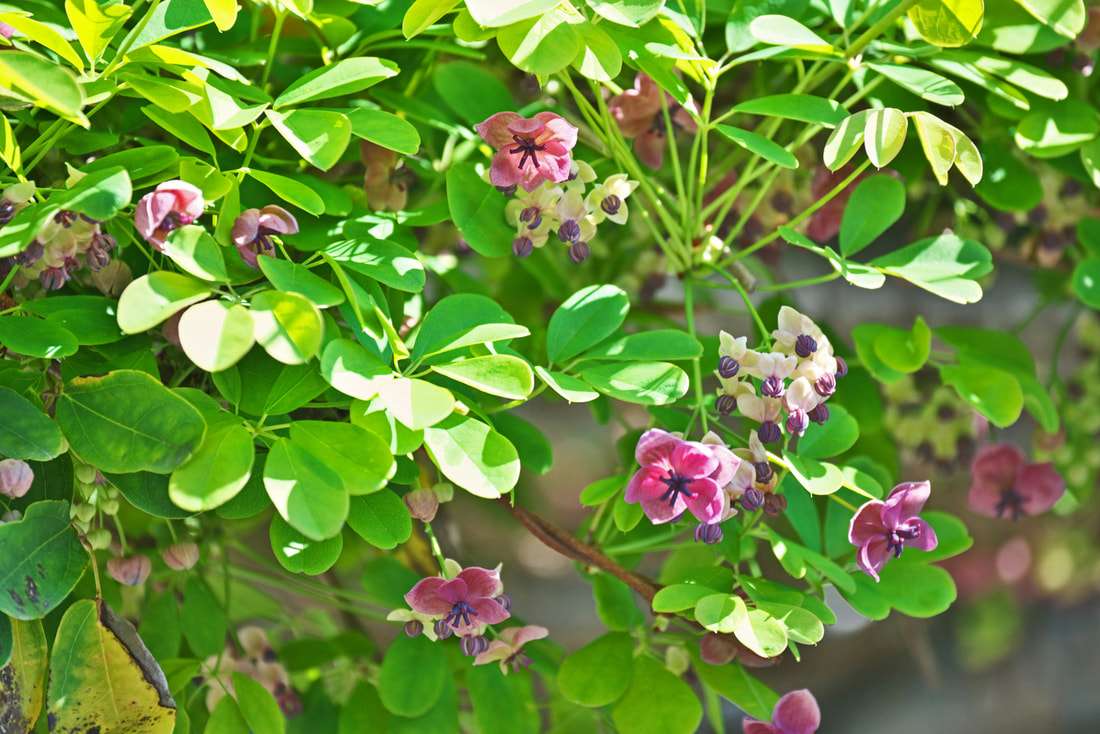
Akebia quinata, Chocolate vine, is another evergreen vine and one that gets its name from the scent of its flowers, which are said to smell like chocolate. One could argue they look a bit like chocolate as well, as the burgundy-purple color is about as close to the color of chocolate as flowers get. Though the flowers have passed already for this year, the plant will form purple sausage-shaped fruit that split open when mature to reveal creamy white insides and black seeds. Chocolate vine is not native, and in fact is considered by many sources, including the NC Invasive Plant Council, to be invasive. Illicium parviflorum, Hardy anise, is notable not for the scent of its flowers but of its leaves, which smell like the culinary spice anise (which is actually derived from a different Illicium species) or licorice. Illicium is a tall evergreen shrub with unique flowers. It performs well in shade.
Syringa ‘Penda’ BLOOMERANG is a reblooming lilac shrub that forms flowers on old growth in spring and new growth in late summer or fall. Slightly more compact than the typical Syringa vulgaris, this still packs a fragrant punch, and is slightly more resistant to powdery mildew though good air circulation is key.
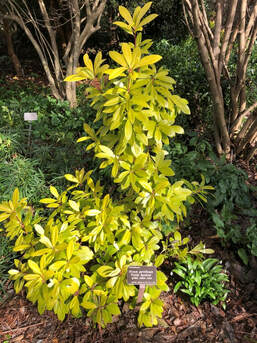
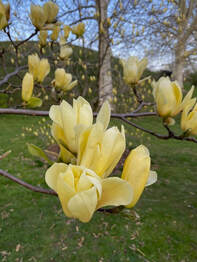
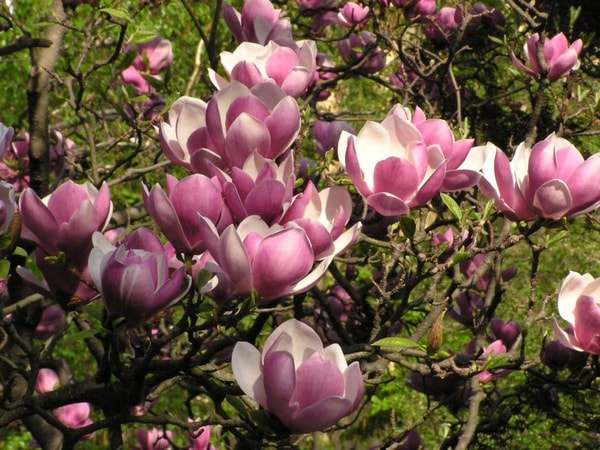
The final plant we visited, and our fourth vine, was Clematis. Many of the hybrid Clematis cultivars, along with other species such as Clematis armandii and Clematis paniculata (Sweet Autumn clematis) have wonderful fragrance to match their stunning bloom. This hybrid clematis is a herbaceous perennial suited for growing on small structures like mailboxes, lampposts, fences or small trellises. Flowers are 4-10 inches wide and long lasting. Keep clematis roots cool by planting other plants around its base. Mark your calendar now for Friday, May 10th for the next Northside Plant Walk featuring Plants with Historic or Cultural Significance. Photo credits: https://plants.ces.ncsu.edu or iStock Bignonia capreolata, form on tree in summer in Moore County, Susan Strine CC BY 2.0 iStock Dianthus gratianopolitanus Firewitch, Sondra P Crab Apple Malus Form in bloom in May Bruce Marlin, CC BY 3.0 Chionanthus virginicus Flower and Leaves Jim Robbins, CC BY-NC-ND 4.0 iStock Chocolate vine, Akebia quinata, iStock , igaguri Illicium parviflorum, Hardy anise, Cathy Dewitt, CC BY 4.0 Syringa ‘Penda’ BLOOMERANG Form, Cathy DeWitt, CC BY 4.0 Clematis armandii Climbing with support, Barbara Goodman, CC BY 2.0 By Matt S., Pitt County Extension Director and Horticulture Agent Our Northside Plant Walk series kicked off for its second season on Friday, March 8th, with the theme of Early Spring Standouts. Among the group of plants covered were three gorgeous Magnolias in full bloom, each with a unique characteristic despite many shared similarities. First was the hybrid x ‘Butterflies’, one of our favorite plants in the entire arboretum. It’s prolific creamy yellow blooms early in spring outshine any other yellow magnolia that we can think of. Next was the Saucer magnolia, Magnolia x soulangeana, another hybrid species prized for its purple tulip-shaped blossoms. Many refer to this as a tulip tree or tulip magnolia, but so many other trees have similar common names it’s best to stick to calling it Saucer magnolia to avoid confusion.
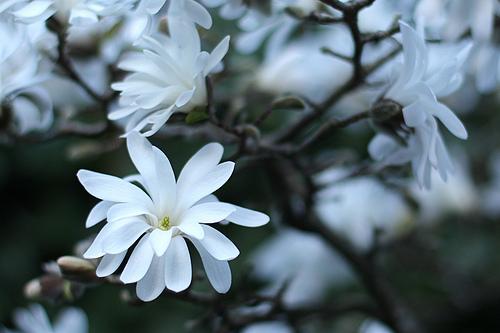
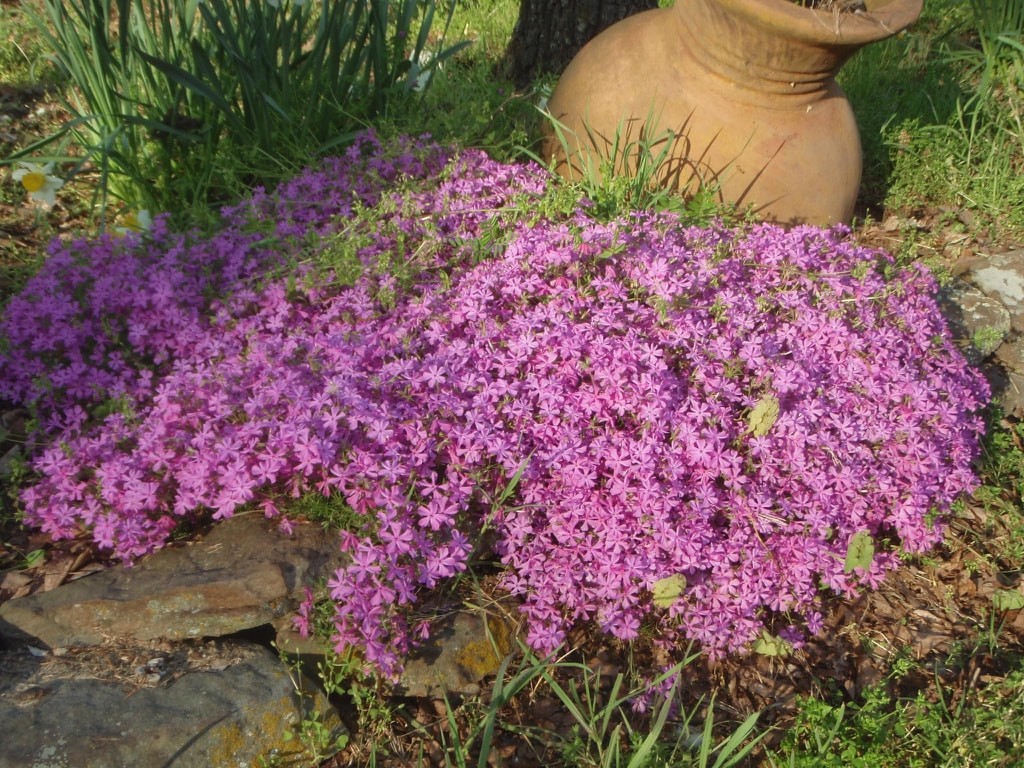
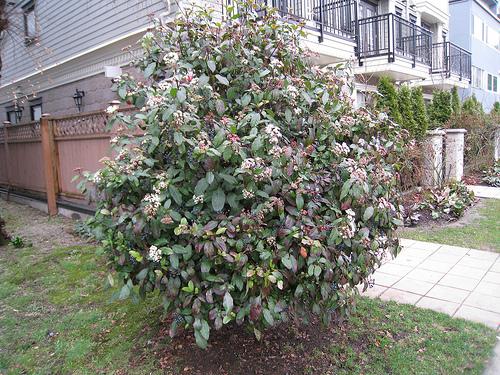
Finally, we have the white flowering magnolia that shines in March, Magnolia stellata, or star magnolia. Each flower features 7-20 individual petals, which radiate out from the center like points on a star. Each of these magnolias can be categorized as large shrub to small tree, with heights in the range of 10-25 feet. Magnolias like moist acidic soil with high organic matter and good drainage. Though they will tolerate partial shade, they flower best in full sun. Because magnolias bloom early and their petals are cold sensitive, they can often be damaged by poorly timed frosts or cold spells. Plant them in areas where they have some protection from wind and cold, and avoid southern exposures that will push their blooms even earlier. The Helleborus genus is a group of shade-loving perennials prized for their late winter/early spring blooms and glossy evergreen foliage. These long-blooming plants sometimes start flowering in January and last into April, though peak bloom tends to be late February/early March. They have many common names, but one of the most frequently used, Lenten rose, is a reference to their bloom corresponding roughly with the season of Lent. We featured them on our first plant walk of the year because they truly represent the transition from winter into spring. Helleborus orientalis, or any of the many cultivars such as the Frostkiss and Ice and Roses series, will give you fantastic color in the shade as our weather turns from cold to warm. Colors range from white to pink to purple to red, and various combinations thereof. Helleborus foetidus has more of a subtle bloom but has especially delicate foliage which is quite attractive. Grow these plants in partial to full shade in moist, organic, well-drained soils. Their leaves are toxic to animals such as deer and rabbits (and humans too, so resist the urge to nibble on them), and this makes them a good alternative to hosta, which like similar conditions but are often grazed on by hungry deer. The bloom of Creeping phlox, Phlox subulata, arrives just a bit later in the calendar year than the Lenten rose and is more likely to dazzle in sun then shade. This low growing perennial is ideal for planting in mass on slopes, edging pathways, or filling cracks in rock gardens. It tolerates drought well, and can be planted in poor sandy soils, through it would prefer moist, well-drained soils with some organic matter. A native to much of the Eastern United States and Canada, the blooms of this Phlox species don’t stay long, but they make a welcome addition to any spring landscape. “A garden without a viburnum is akin to life without music and art.” So says noted horticulture professor and author Michael Dirr. Viburnum tinus, commonly known as laurustinus viburnum, is one of many members of the genus. I’ve always taken Dirr’s quote to mean that not only are viburnums stimulating to the senses in ways mirroring music and art, but that the sheer number of plants within the genus and the diversity of characteristics among them almost ensure that even if you don’t like every viburnum you see, there surely are at least a few that you appreciate.
This particular viburnum is one of the earliest to flower in our area. It’s a mid-sized evergreen shrub with floral cymes on the terminal end of each branch. The blooms are light pink when in bud, but open up with pure white petals. Although not native, it is a food source for bees and other insects as they forage for nectar in early blooms, and its later season fruit are enjoyed by songbirds. It can be used in the landscape as a specimen plant, hedge, or foundation plant. Perhaps not as fragrant or showy as other viburnums that will bloom later in spring, but it might be favored by the type of person in the mood for a soft jazz or classical record rather than a raucous punk one.
Osmanthus fragrans, fragrant tea olive, is a fabulous and underrated large shrub. It has shiny evergreen foliage with a reddish tinge to its newest growth in spring and makes a fine hedge or border shrub. Its greatest attribute, and the one that gives it its name, is the deliciously sweet fragrance packed inside the tiny white flowers nestled among its branches. Flowers bloom in the spring and again in the fall, so gardeners normally get to experience the aroma twice per year. This shrub will grow to a height of 10-20’ tall, so be sure to plant it in a place where there is plenty of room to grow. Although it’s fragrance will carry quite a bit, placing it in a location where its scent can be most appreciated, such as near a patio or pathway, is a good idea. It prefers sun or light shade, and moist, well-drained soil, though it is fairly drought tolerant once established. This would have been a great plant to save for April’s Aromatic Additions for your Landscape plant walk, but the impact of its scent was to good to pass up on this beautiful March day. Photo credits: NCSU Plant Toolbox: https://plants.ces.ncsu.edu 'Butterflies' is a deciduous hybrid cultivar Magnoliaceae Flower in Monroe Co., NY – Spring Photo credit Amy StidhamCC BY-NC-ND 4.0 Magnolia x soulangeana, Saucer magnolia Photo credit: Zp CC BY-SA 4.0 Magnolia stellate Photo by Elle_Ann CC BY-NC-ND 2.0 Phlox subulata Form under Sun Jim Robbins CC BY-NC-ND 4.0 Viburnum tinus, Habit Wendy Cutler CC BY 2.0 Osmanthus fragrans, Flowers Jim Robbins CC BY-NC-ND 4.0 By Joanne K., Pitt County Extension Master Gardener Volunteer With spring blooming all around us, what gardener doesn't want to continue such a colorful display in their yard all summer? While gardeners like to plant perennials for their beautiful color, shape, and longevity, most perennials only bloom for a specific time. To enjoy garden color all summer, add annuals to your planting mix, whether in the ground, in containers, or in hanging baskets. To really extend your color and get the most bang for your buck, select colorful annuals with staying power. At JC Raulston Arboretum in Raleigh, their trial gardens are planted yearly with assorted annuals to determine which ones will do best in the heat and humidity of North Carolina summers. For full-sun beds, some of their recommendations include Calibrachoa x hybrida (Million Bells), Celosia spp. (Cock's comb), and Cuphea ignea (Firecracker Plant). 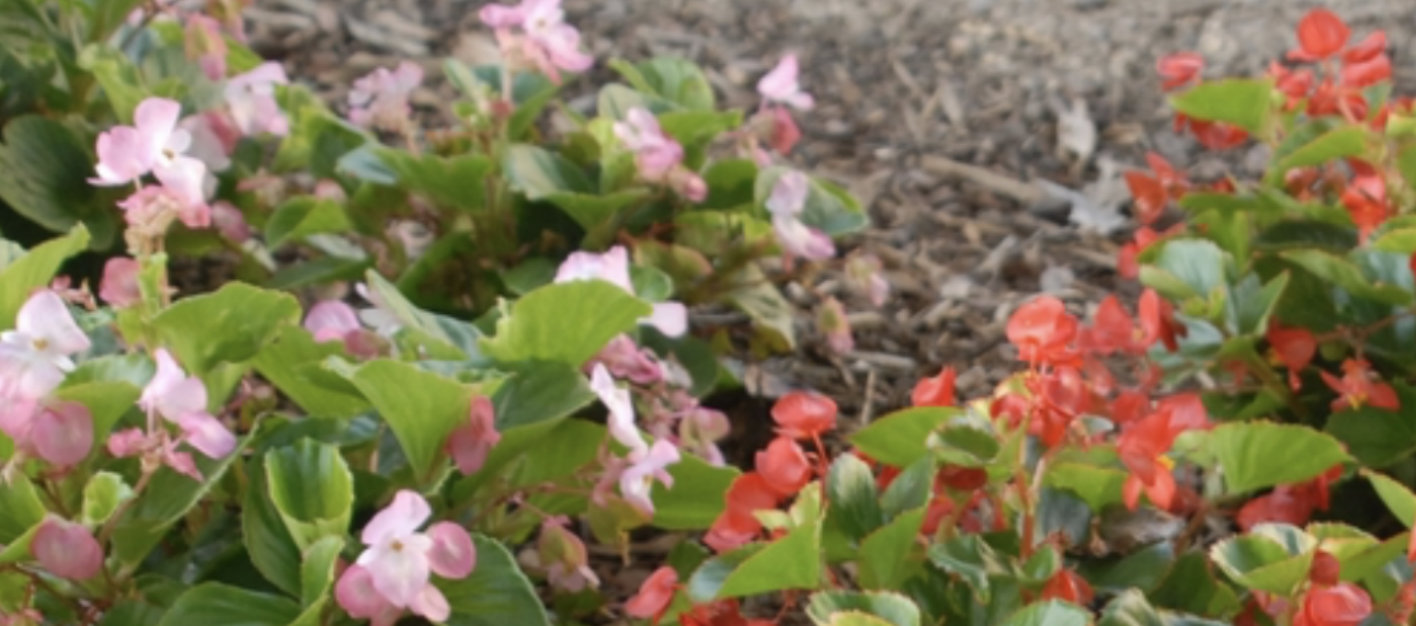 Begonias also grow well in pots and indoors. Flower Form Jim Robbins CC BY-NC-ND 4.0 Calibrachoa flowers appear in blue, gold/yellow, orange, pink, purple/lavender, red/burgundy, variegated, and white. Celosia flowers come in gold/yellow, orange, pink, and purple/lavender. Both plants like to be on the dry side and don't need deadheading. Both are drought and heat tolerant. With its bright orange, red, yellow, and purple flowers lasting into fall, Cuphea is a favorite of pollinators such as bees, butterflies, and hummingbirds, attracted to. It likes well-watered, well-drained soil, and is somewhat drought-tolerant.
Two picks for part shade are Begonia (Semperflorens-Cultorum Group) (Wax Begonias) and Impatiens walleriana (Impatiens). Begonia flowers come in shades of gold/yellow, pink, red/burgundy, and white, with lots of leaf color variation. Begonias are heat- and drought-tolerant, and deer generally avoid them.
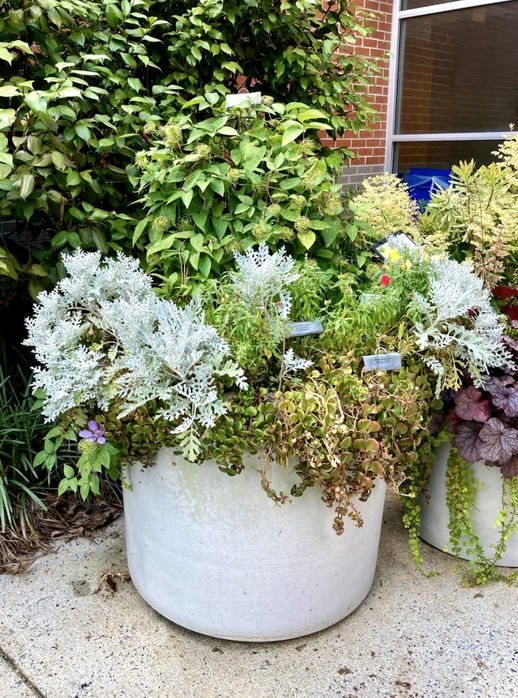
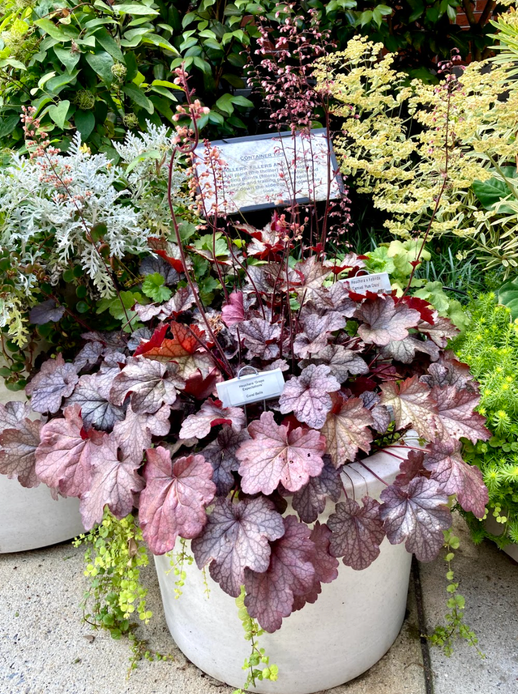
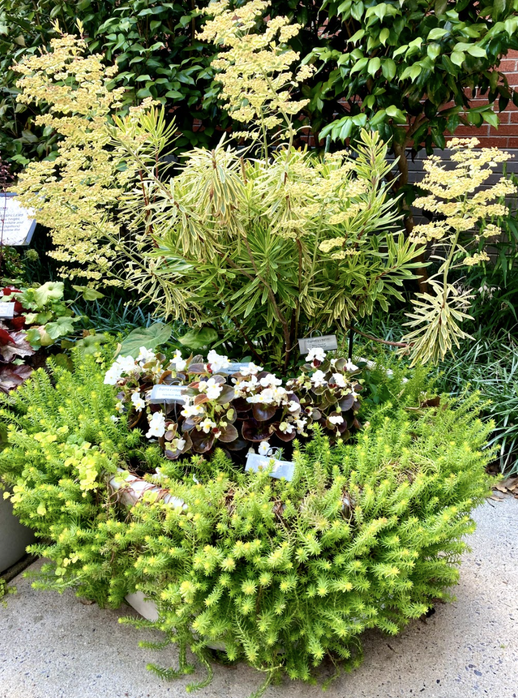
Unfortunately, since deer love Impatiens, it’s best to avoid planting them if your garden is a salad bar for deer. Impatiens tolerate humidity but will wilt in hot, dry spells. With their orange, pink, purple/lavender, red/burgundy, and white blooms, Impatiens also attract pollinators including butterflies and hummingbirds. Leaf color is another option for shady areas. Caladium cultivars come in many colorful combinations of pink, red, green, and white, and are summer stalwarts. They prefer a rich soil and constant moisture. For more information on growing these plants, go to the NC Extension Gardener Plant Toolbox. Story by Joanne K. and Ann H., NC State Extension Master GardenerSM Volunteers. All photos by Ann Hamze, CC BY 4.0. With local nurseries and big-box stores overflowing with colorful blooms and leafy greens, gardeners are ready to create their summer container gardens.
The container gardens featured here were displayed at the Arboretum in the spring and summer of 2023. Other Arboretum container gardens can be seen in front and on the sides of the building and under the green canopy.
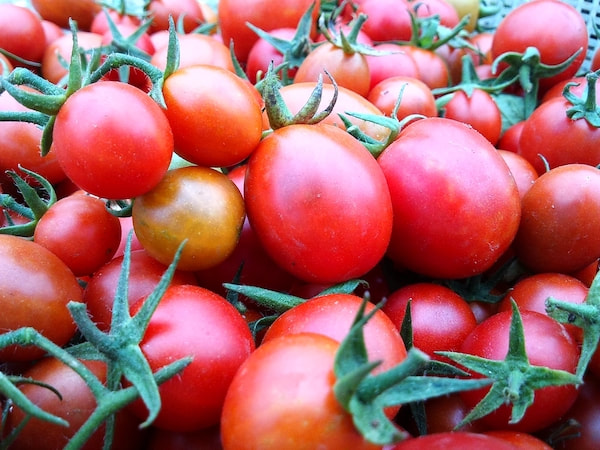
We hope that these gardens will inspire you to create your own colorful container garden. And be sure to visit the Arboretum to see what's growing this year! For more information on creating and maintaining container gardens, go to the NC Extension Gardener Handbook. By Joanne K. and John W., NC State Extension Master GardenerSM volunteers When sunny 70+ degree days start popping up in March in eastern NC, gardeners become eager to start digging in the dirt to plant their veggies.
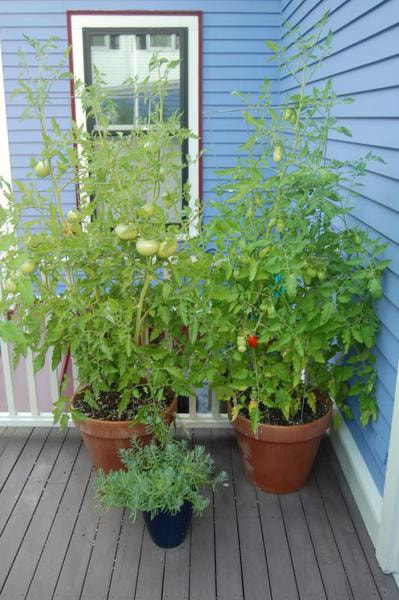
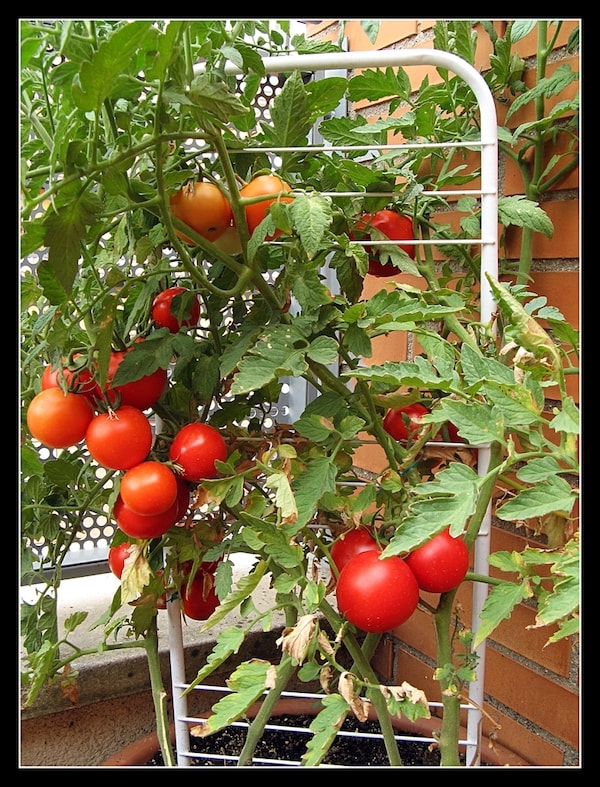
Types of Plants When deciding which varieties to plant, there are two types to consider: 1) Determinate tomatoes grow to a certain height and are good for container planting. The fruit ripens in 3 to 4 weeks and then the plant is done. Most of the disease-resistant varieties are determinate. 2) Indeterminate ones grow from 5 to 20 feet tall, fruiting all season if the climate is favorable. They need a support system such as cages, poles, or trellises to prevent drooping or breaking.
Caring for Your Plants
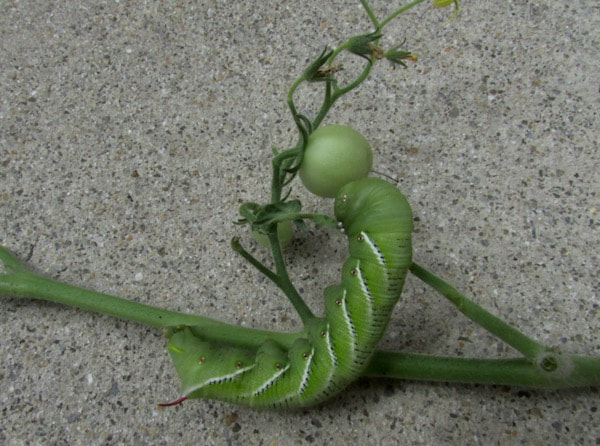
Depending on the variety, tomatoes need anywhere from no support to 15-foot poles. Water when the soil starts to dry out. Drip irrigation is better than overhead to reduce disease problems. Tomatoes need 1" to 1 1/2" of rain or water each week. Do a soil test to determine your fertilizer needs. Use a plant-starting fertilizer solution when putting the tomatoes in the ground. Tomatoes are heavy feeders and will need two to three tablespoons per plant of 8-8-8 or 10-10-10 when the fruit starts to set and every 4-6 weeks afterward. Suckers are the new growth that forms at the axial joint. Removing the suckers encourages fewer but bigger tomatoes. It also allows more air flow between plants and discourages insect and disease populations. Remove suckers by pinching close to the stem with your fingers or cutting with pruners. The suckers can be planted to create new plants. Problems If deer visit your garden, you will need a fence. Birds will usually take one or two pecks in ripe fruit. You can eat around the wound. Squirrels can take large bites out of ripe tomatoes. Rabbits may nibble on small plants, but they generally don't bother larger ones. Turtles like to eat the ripe fruit that they can reach. Using foil when planting deters cutworms. Check for tomato horn worms whose green coloration makes them hard to spot. They can be picked off by hand and squashed. Diseases Unfortunately, tomatoes are susceptible to many types of disease with very few cures. Control methods include: 1. Plant disease-resistant varieties. 2. Cut off the bottom leaves if the problem starts there (Septoria leaf spot). 3. Pull out the problem plant and dispose of it in the garbage. 4. Plant extra plants. 5. Rotate crops so that the same plant is not grown in the same area for 3 to 4 years. Tomatoes, potatoes, peppers, and eggplants are all in the Solanaceae or nightshade family, and should not follow one another in the garden. Other Problems If the plant has all leaves, but few flowers, too much nitrogen fertilizer was used. If there are lots of flowers but few tomatoes, the air temperature is too high. Tomatoes with black ends have blossom-end rot, indicating a lack of calcium in the soil and/or irregular soil moisture. Cracking occurs when the fruit is almost ripe and there is a heavy rain. Try picking tomatoes just as they start to color. Ripen them indoors. For more information on growing tomatoes go to the NC Extension Gardener Plant Toolbox at: https://plants.ces.ncsu.edu/plants/solanum-lycopersicum/ Also check these other NC State Extension links: https://content.ces.ncsu.edu/eastern-north-carolina-planting-calendar-for-annual-vegetables-fruits-and-herbs https://content.ces.ncsu.edu/insect-and-related-pests-of-vegetables/pests-of-tomato https://vegetables.ces.ncsu.edu/tomatoes-diseases/ Joanne K., Pitt County Arboretum E Extension Master Gardener Volunteer As spring bulbs start to bloom, you will also start to see tips of your perennials poking above ground or showing some new growth. Late winter, early spring is a great time to divide your perennials. Plant division allows you to maintain the desired plant size, revitalize its growth, and produce more plants for yourself or to share with fellow gardeners. Division is not needed every year. Many perennials, however, can become too thick after growing for two or three years in the same place resulting in smaller, fewer, or no blooms at all. Other signs that a plant should be divided include a dead center, sluggish growth, or too large for its space.
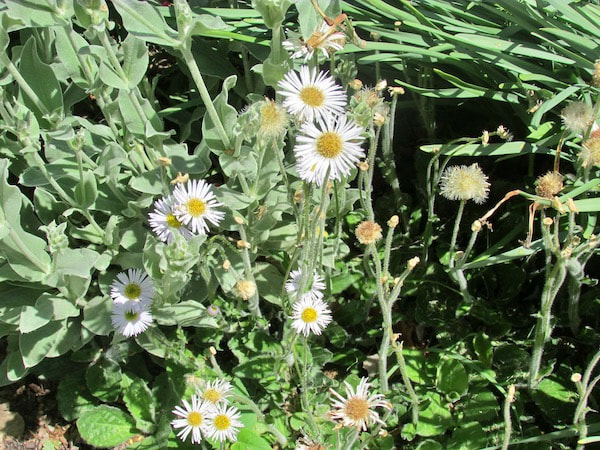
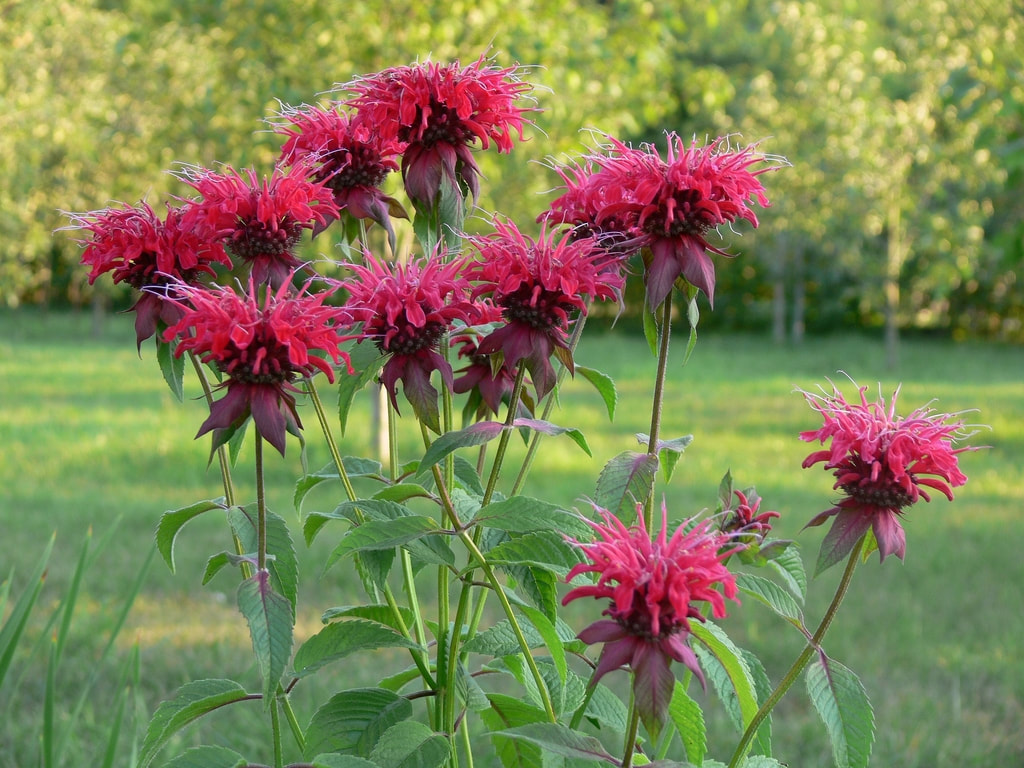
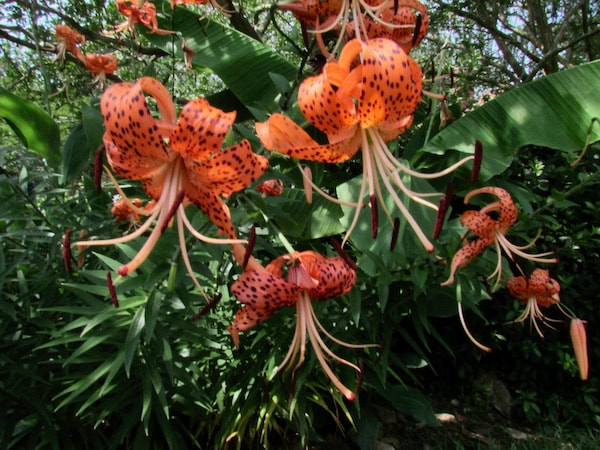
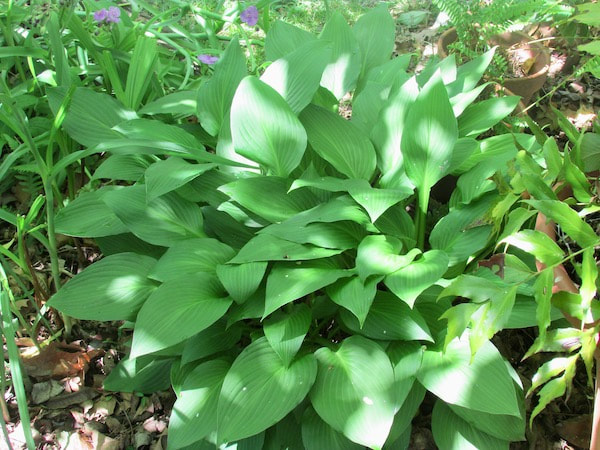
For some plants the root system can be pulled apart by hand such as Asters and bee balm (Monarda). For bigger clumps such as daylilies (Hemerocallis spp.) and Hostas, you may need to use a sharp knife or handsaw to cut between the crowns maintaining a good section of root. Three to five shoots are recommended for each division.
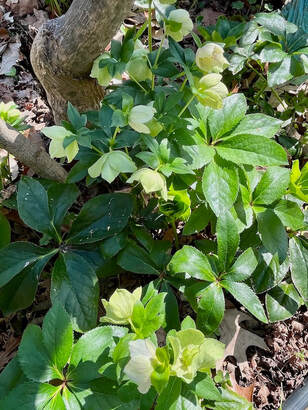
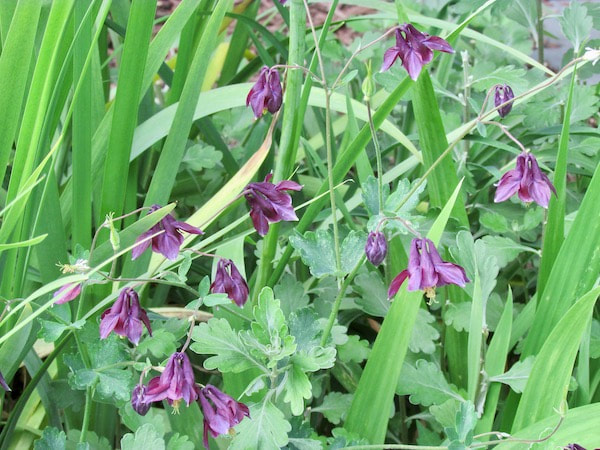
Mature Lenten Roses (Hellebore) are difficult to move. The species spreads easily so digging up and replanting the seedlings will be more successful. Some plants should never be divided such as butterfly weed (Asclepias), columbines (Aquilegia), and indigo (Baptisia). More instructions on how and when to divide perennials can be found at: http://www.clemson.edu/extension/hgic/plants/landscape/flowers/hgic1150.html More information on the individual plants above can be found at the NC Extension Gardener Plant Toolbox at: https://plants.ces.ncsu.edu/ Photo credits:
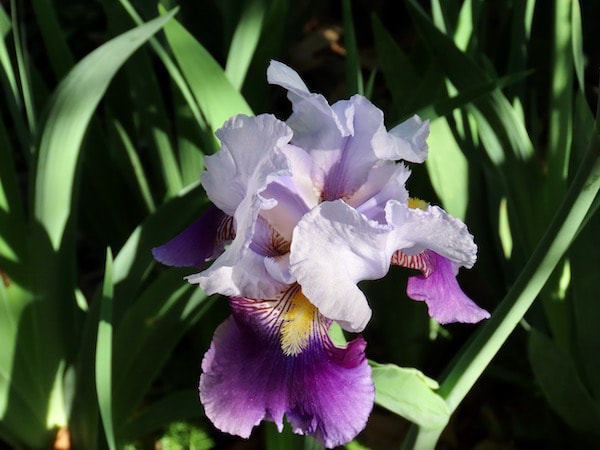
1. Aster, Joanne K. 2. Bee Balm, Monarda—Red tubular flowers Dy-e CCBY-SA 3.0 3. Daylilies, Hemerocallis spp., Joanne K. 4. Hosta, Joanne K. 5. Iris, Joanne K. 6. Lenten Rose, Hellebore, Joanne K. 7. Columbines, Aquilegia, Joanne K. |